In recent years, the standing desk has gained immense popularity as a healthier alternative to traditional sitting desks. The benefits of standing while working are numerous, ranging from improved posture to increased energy levels and productivity. However, purchasing a standing desk can be expensive, and finding one that suits your specific needs and preferences can be challenging. Fortunately, with a bit of creativity and DIY spirit, you can craft your very own standing desk tailored to your unique requirements. In this comprehensive guide, we'll walk you through the process of making a standing desk from scratch, covering everything from design considerations to step-by-step construction instructions.
Design Considerations
Before diving into the construction process, it's essential to consider several key design factors to ensure that your standing desk meets your ergonomic and functional needs:
Height Adjustability: Depending on your height and personal preferences, you may want to design your standing desk with adjustable height capabilities to accommodate both standing and sitting positions comfortably.
Workspace Surface: Determine the size and shape of the workspace surface based on your workflow and the equipment you'll be using, such as monitors, keyboards, and peripherals.
Stability and Support: Stability is crucial for a standing desk to prevent wobbling or tipping over. Consider the materials and construction methods that will provide adequate support for your workspace.
Aesthetic Appeal: While functionality is paramount, aesthetics also play a role in creating a workspace that inspires productivity and creativity. Choose materials and finishes that complement your existing decor and personal style.
Storage and Organization: If you require storage or organization solutions for your desk accessories, factor these into your design to keep your workspace clutter-free and optimized for efficiency.
Materials and Tools
Once you've finalized your design concept, gather the necessary materials and tools to bring your vision to life. While the specific requirements may vary depending on your design, here's a general list of materials and tools you may need:
Materials:
Wood boards (for the desktop surface, legs, and supports)
Screws, nails, or wood glue
Metal brackets or braces (for added stability)
Sandpaper or a sander (for smoothing rough edges)
Wood stain or paint (optional, for finishing touches)
Protective finish (such as polyurethane) to seal the wood surface
Tools:
Saw (circular saw, jigsaw, or handsaw)
Drill with drill bits
Screwdriver
Measuring tape
Carpenter's square
Clamps (for securing pieces during assembly)
Safety goggles and gloves
Step-by-Step Construction Guide
Now that you have your materials and tools ready, let's walk through the process of constructing your DIY standing desk:
Measure and Cut the Wood: Begin by measuring and cutting the wood boards according to your design specifications. Use a saw to cut the desktop surface, legs, and any additional support pieces to the desired dimensions. Ensure precise measurements to achieve a professional-looking result.
Assemble the Frame: Depending on your design, you may need to assemble a frame to support the desktop surface. Use screws, nails, or wood glue to join the legs and support pieces, following your design plan carefully. Use a carpenter's square to ensure that the frame is square and level.
Attach the Desktop Surface: Once the frame is assembled, attach the desktop surface to the frame using screws or brackets. Make sure the surface is securely fastened to prevent movement or instability.
Install Height Adjustment Mechanism (Optional): If you've opted for a height-adjustable standing desk, install the mechanism according to the manufacturer's instructions. This may involve attaching adjustable legs or a crank system to the frame for easy height customization.
Sand and Smooth Edges: Use sandpaper or a sander to smooth any rough edges or surfaces on your standing desk. Pay special attention to areas where you'll be in contact with the desk to ensure a comfortable user experience.
Apply Finish (Optional): If desired, apply a wood stain or paint to the standing desk to enhance its appearance and protect the wood surface from damage. Allow the finish to dry completely before moving on to the next step.
Test for Stability and Adjustments: Before using your standing desk, test it for stability and make any necessary adjustments. Ensure that the desk is level and does not wobble or sway when in use. If needed, reinforce the structure with additional braces or supports.
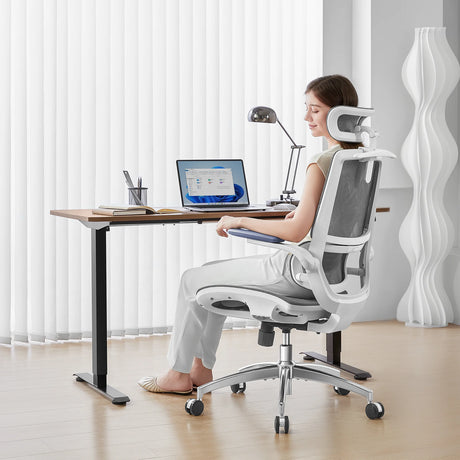
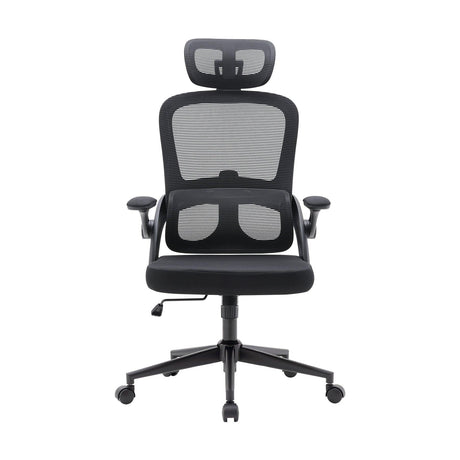
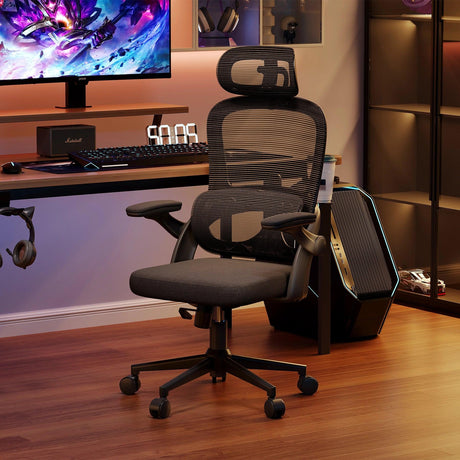
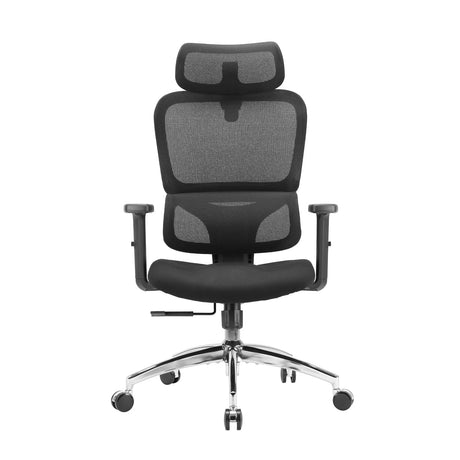
Personalize Your Workspace: Once your standing desk is constructed and fully functional, take the opportunity to personalize your workspace with ergonomic accessories, such as a supportive chair or anti-fatigue mat, to enhance comfort and productivity.
Conclusion
Crafting your own standing desk is not only a rewarding DIY project but also a practical solution for promoting a healthier and more ergonomic work environment. By considering design considerations, gathering the necessary materials and tools, and following a step-by-step construction guide, you can create a custom standing desk that meets your specific needs and preferences. Whether you're a seasoned woodworker or a novice DIY enthusiast, building your own standing desk is an achievable and fulfilling endeavor that can transform your workspace and improve your overall well-being.