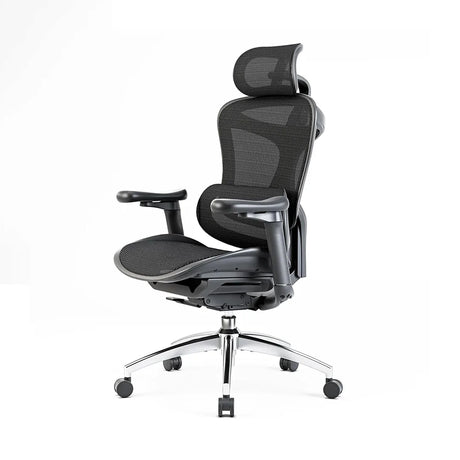
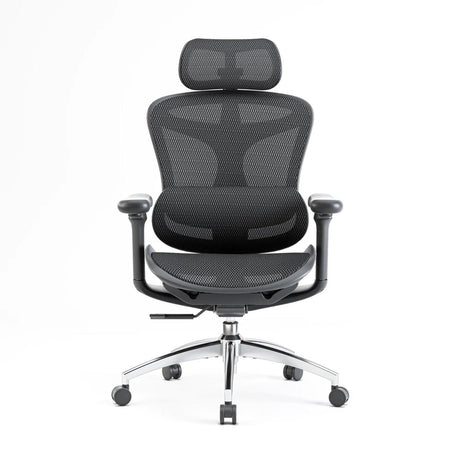
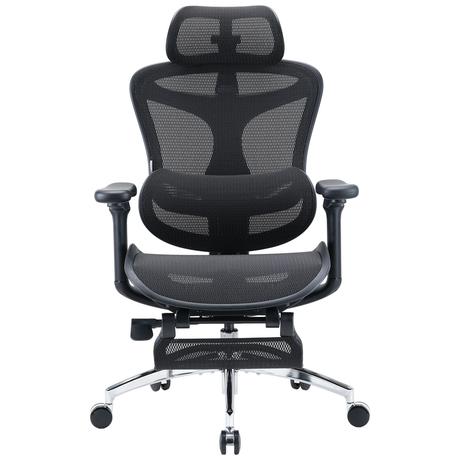
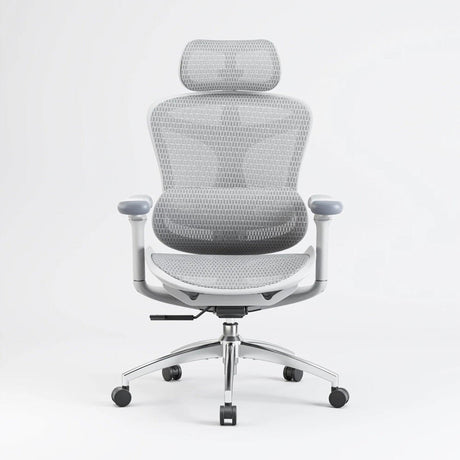
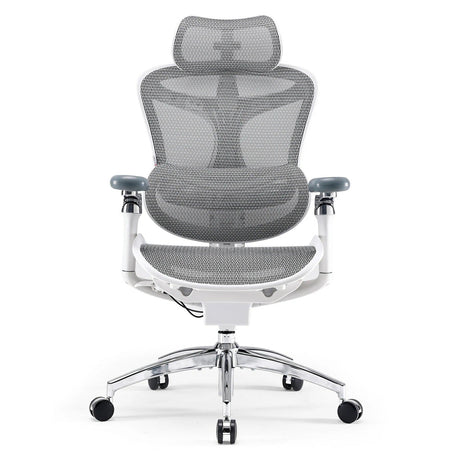
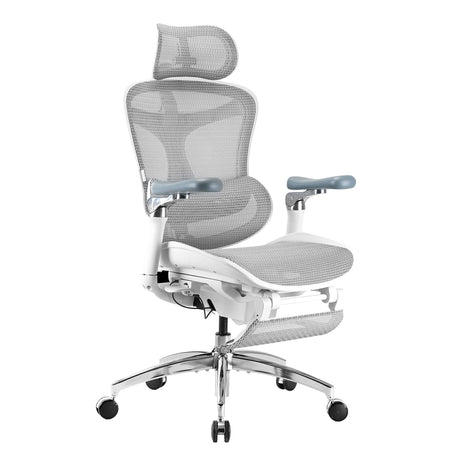
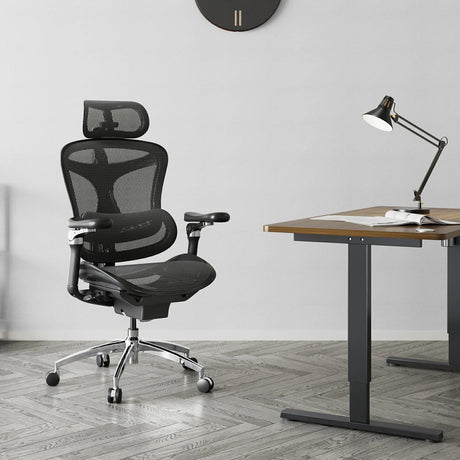
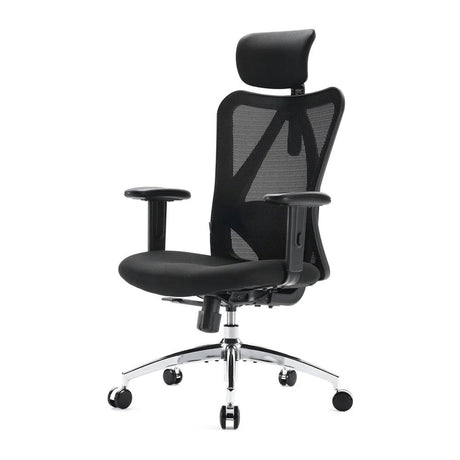
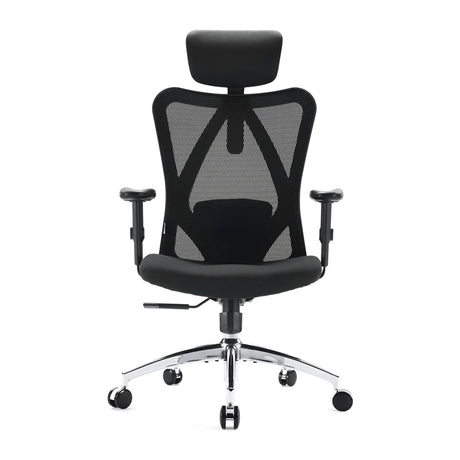
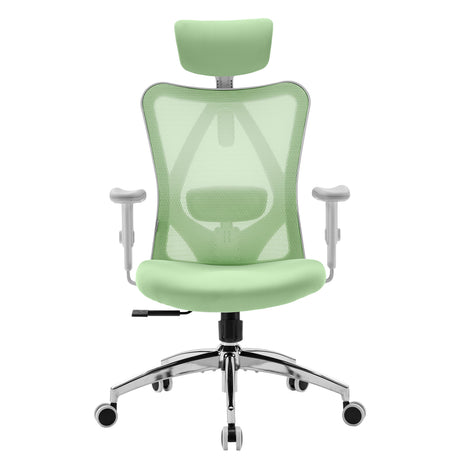
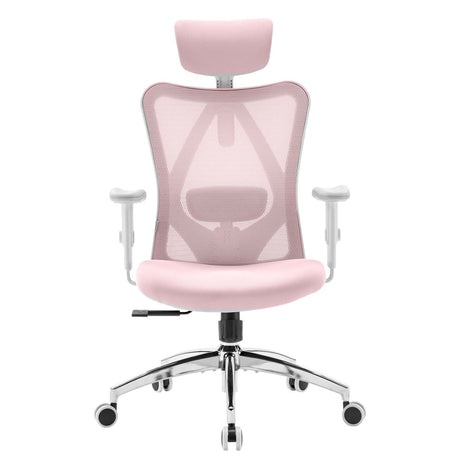
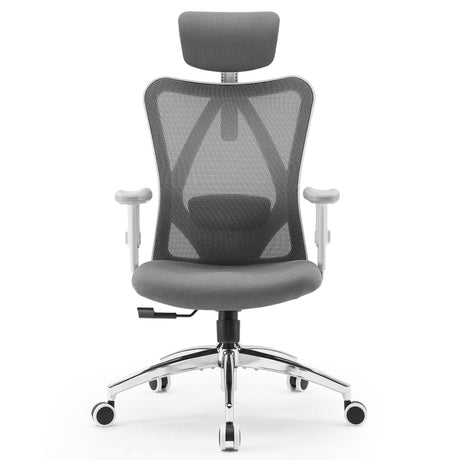
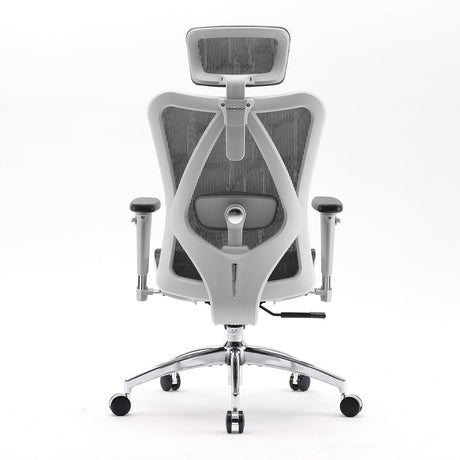
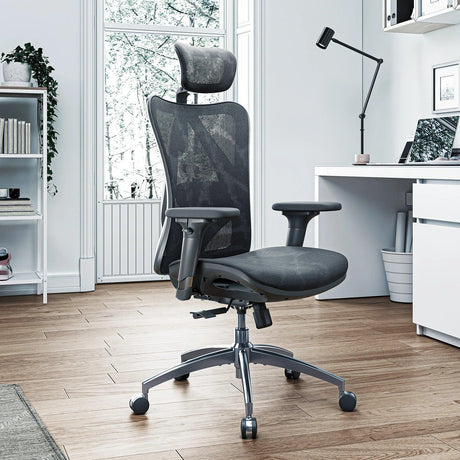
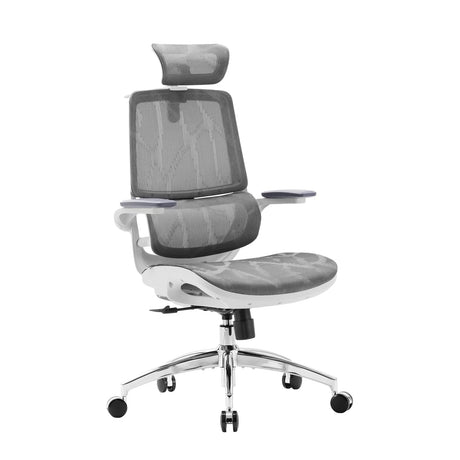
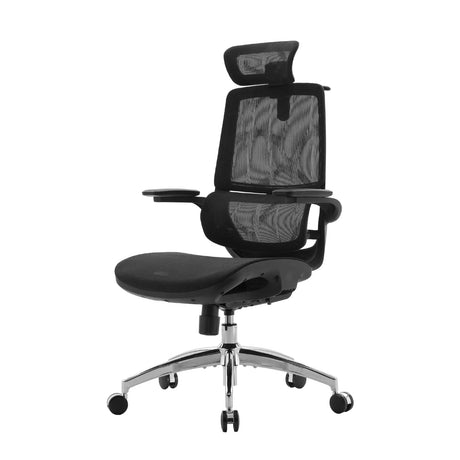
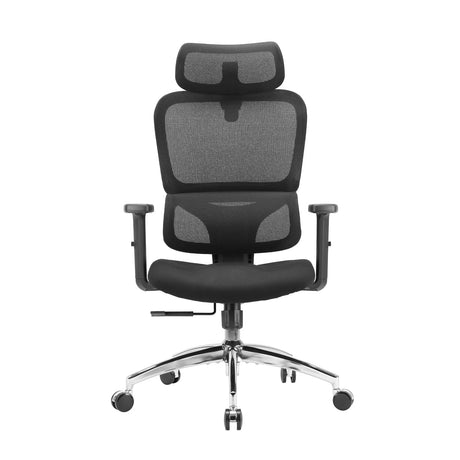
Lower back pain is a common issue faced by many individuals who work for long hours sitting in front of a computer. Poor posture, incorrect chair height, and lack of lumbar support are some of the primary reasons for lower back pain. However, adjusting your office chair can provide significant relief from lower back pain. In this article, we will discuss the step-by-step guide on how to adjust your office chair to prevent lower back pain.
Step 1: Adjust the Chair Height
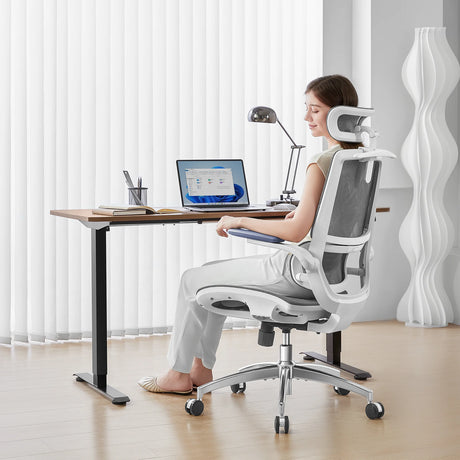
The first step in adjusting your office chair for lower back pain is to adjust the chair height. Adjust the height so that your feet are flat on the ground, and your knees are at a 90-degree angle. This will allow you to maintain a neutral position with your hips, which will help prevent lower back pain.
Step 2: Adjust the Seat Depth
The seat depth is the distance between the front edge of the seat and the backrest. Adjust the seat depth so that there is a small gap between the back of your knees and the front edge of the seat. This will help prevent pressure on the back of your thighs and improve circulation.
Step 3: Adjust the Backrest Height
The next step is to adjust the backrest height. Adjust the backrest height so that it fits the natural curve of your spine. The backrest should provide support to your lower back, and you should feel comfortable and relaxed.
Step 4: Adjust the Lumbar Support
Lumbar support is essential for preventing lower back pain. Adjust the lumbar support so that it fits the natural curve of your spine. If your chair does not have a built-in lumbar support, you can use a cushion to support your lower back.
Step 5: Adjust the Armrests
The armrests are often overlooked when adjusting office chairs, but they play an important role in preventing lower back pain. Adjust the armrests so that they support your arms comfortably. Your elbows should be at a 90-degree angle, and your shoulders should be relaxed.
Step 6: Adjust the Tilt Tension
The tilt tension is the resistance that you feel when you lean back in your chair. Adjust the tilt tension so that it is comfortable for you. If the tilt tension is too high, it can cause tension in your lower back muscles.
Step 7: Take Regular Breaks
No matter how well you adjust your office chair, it is essential to take regular breaks. Sitting for long periods can put pressure on your lower back and cause pain. Take breaks every 30 minutes to stretch your legs and back.
Conclusion:
In conclusion, adjusting your office chair is essential for preventing lower back pain. Follow the step-by-step guide to adjust your chair height, seat depth, backrest height, lumbar support, armrests, and tilt tension. Remember to take regular breaks to stretch your legs and back. With the right adjustments, you can work comfortably and prevent lower back pain.

