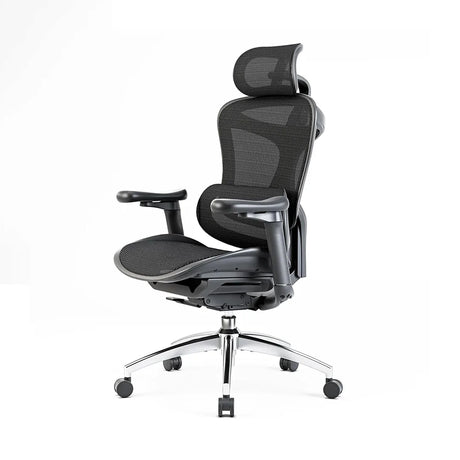
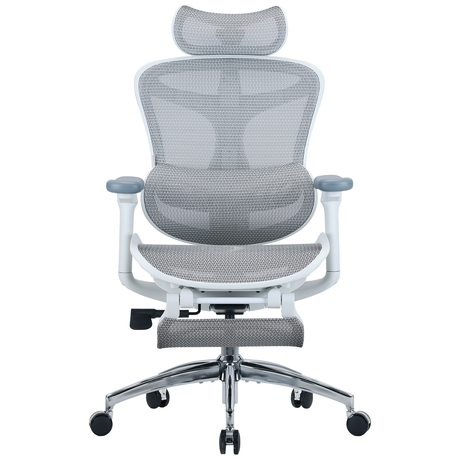
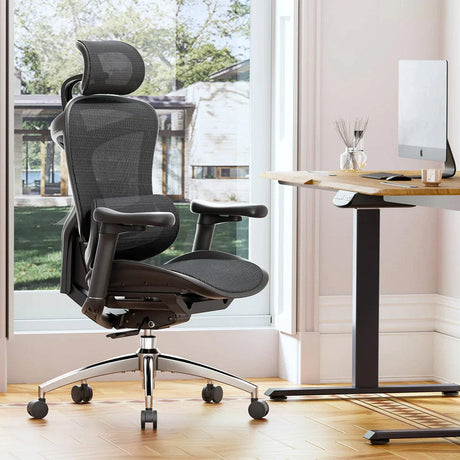
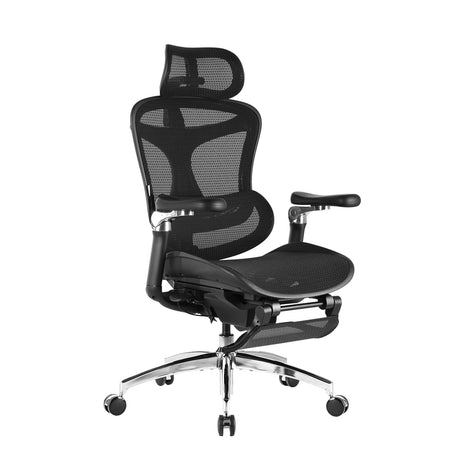
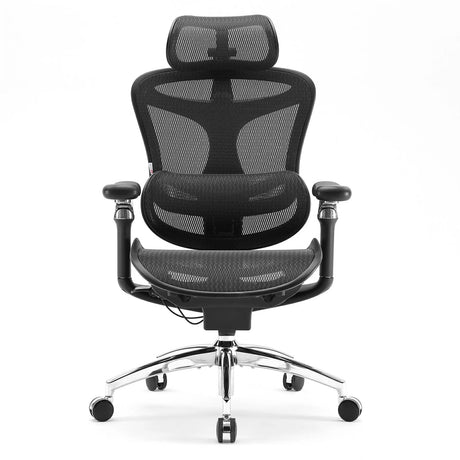
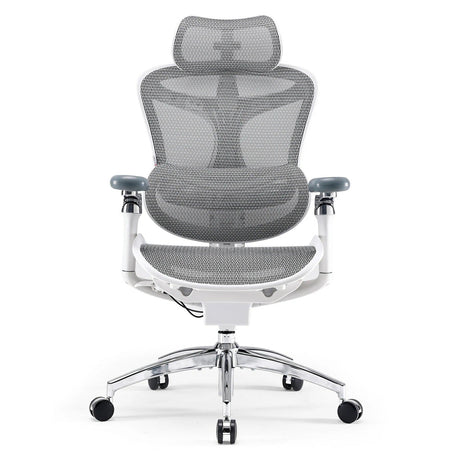
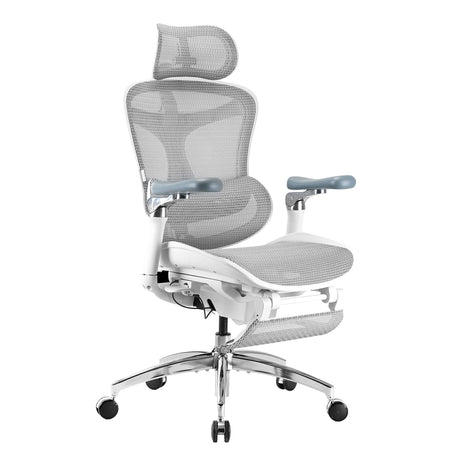
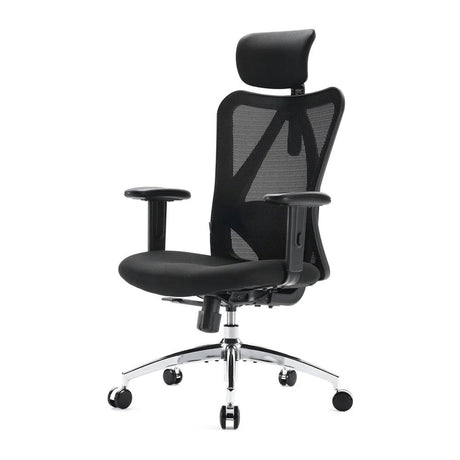
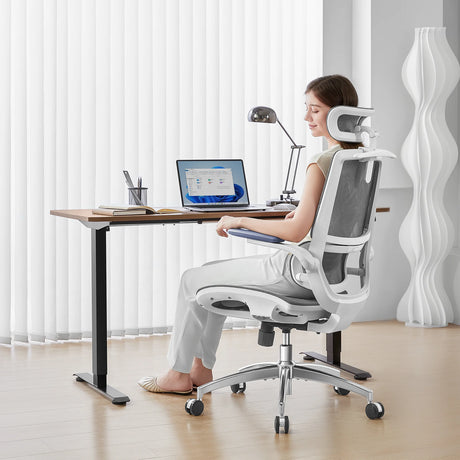
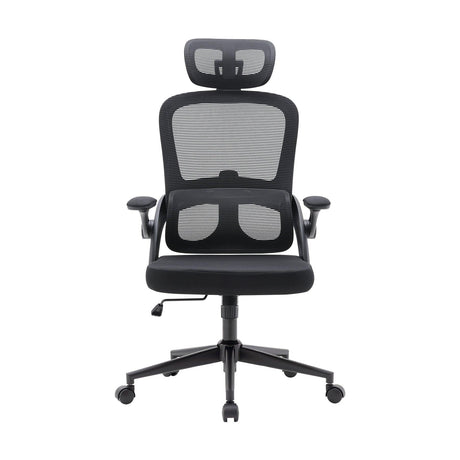
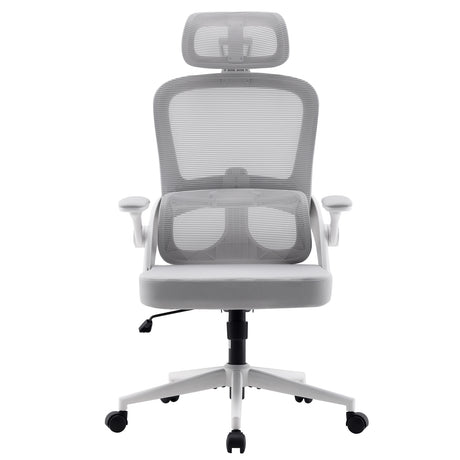
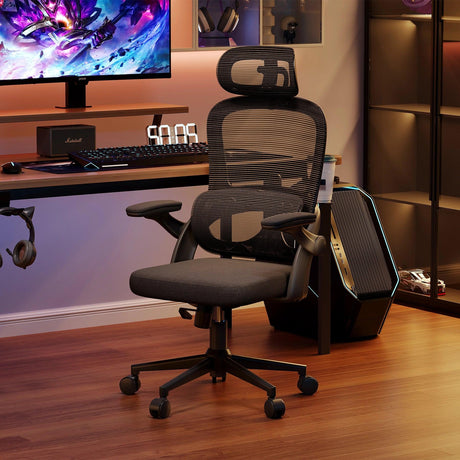
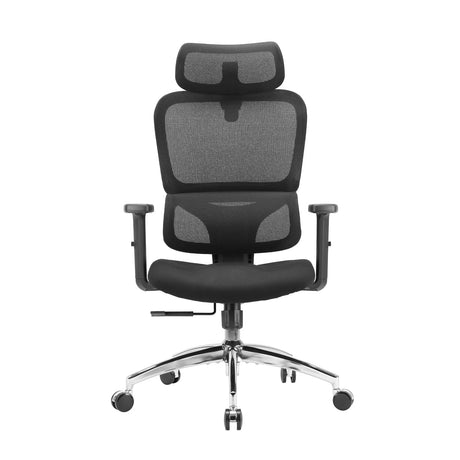
Removing the cylinder from an office chair can seem like a daunting task, especially if you don't have a pipe wrench on hand. However, with a bit of patience and the right technique, you can successfully remove the cylinder using common household tools. In this blog post, we'll walk you through the steps to remove the cylinder from your office chair without the need for a pipe wrench.
Understanding the Office Chair Cylinder
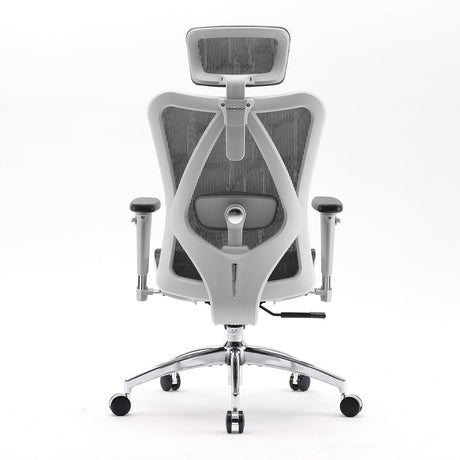
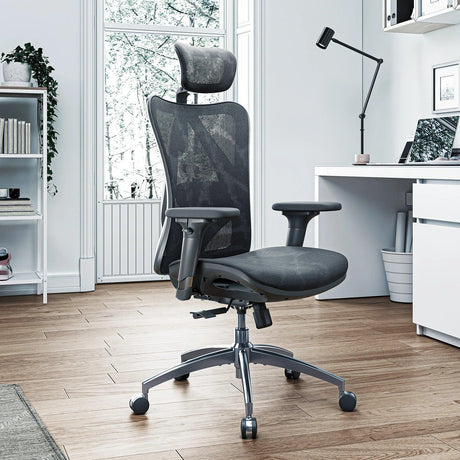
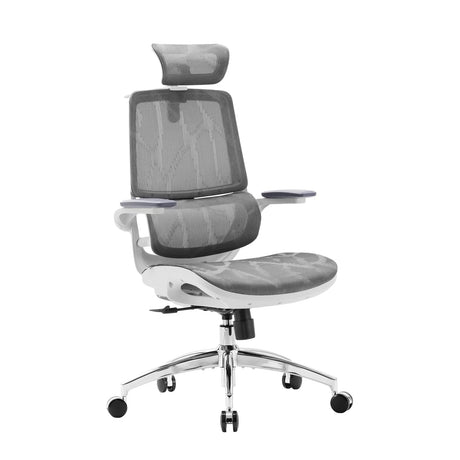
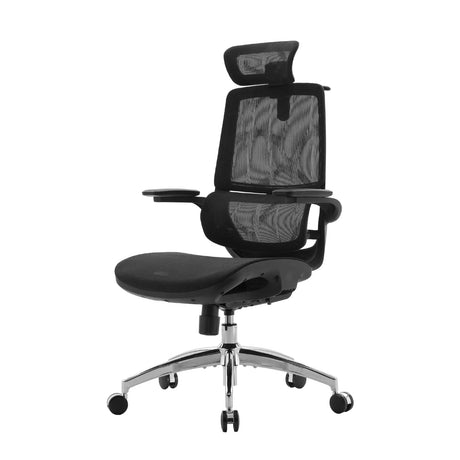
Before diving into the removal process, it's important to understand what you're dealing with. The cylinder in an office chairs, often referred to as the gas lift or pneumatic cylinder, is responsible for adjusting the height of the chair. It operates using compressed gas, and its removal can be tricky without the right tools.
Tools and Materials You’ll Need
While a pipe wrench is typically used for this task, there are alternative tools you can use. Here’s a list of what you might need:
- Flathead Screwdriver: To help pry or loosen components.
- Hammer: For tapping and loosening stuck parts.
- Pliers: To grip and twist parts.
- Lubricant: Such as WD-40, to help loosen any rust or debris.
- A towel or cloth: To protect your chair and floor.
Steps to Remove the Cylinder
1. Prepare Your Workspace
Find a clean, well-lit area where you can comfortably work. Lay down a towel or cloth to protect your chair and floor from scratches or damage.
2. Disassemble the Chair
Remove the chair’s seat from the base. Most office chairs have screws or bolts securing the seat to the base, which can usually be removed with a screwdriver. Once the seat is removed, you should have access to the cylinder.
3. Inspect the Cylinder
Look at how the cylinder is attached to the chair base. The cylinder is usually held in place by a metal collar or sleeve. Sometimes, it may be secured with a retaining clip or pin. Understanding how it’s secured will help you determine the best method for removal.
4. Apply Lubricant
Spray some lubricant around the base of the cylinder where it connects to the chair base. Allow it to sit for about 10-15 minutes. This will help loosen any rust or debris that might be causing the cylinder to stick.
5. Use Pliers to Grip and Twist
If the cylinder is stuck in the base, you can use pliers to grip it. Wrap the pliers around the bottom of the cylinder and twist gently. If it’s resistant, tap it lightly with a hammer to break any rust or debris that might be causing it to stick. Be careful not to damage the cylinder or the chair base.
6. Remove the Cylinder from the Chair Base
Once you’ve loosened the cylinder, you should be able to pull it out of the base by hand. If it still resists, use the flathead screwdriver to carefully pry it loose. Insert the screwdriver between the cylinder and the base, and gently pry it out. Be patient and avoid using excessive force, as this could damage the chair.
7. Remove the Cylinder from the Seat
The cylinder might also be attached to the seat via a mounting bracket. Check if there are any screws or bolts securing the cylinder to the seat. Remove these fasteners using a screwdriver. Once the fasteners are removed, you should be able to slide the cylinder out of the seat.
8. Clean and Inspect
After removing the cylinder, take the time to clean the area where it was attached. Remove any remaining debris or rust, and inspect the chair components for damage. This is also a good opportunity to check if the cylinder needs to be replaced or if it can be repaired.
9. Install the New Cylinder
If you’re replacing the cylinder, simply reverse the removal steps. Insert the new cylinder into the seat and base, secure it with any screws or bolts, and ensure it is properly aligned. Test the new cylinder to make sure it functions correctly before reattaching the seat to the base.
Tips for a Successful Removal
- Be Patient: Removing a stuck cylinder can be challenging. Take your time and don’t rush the process.
- Use Lubricant Wisely: Applying lubricant can greatly ease the removal process. Make sure to use it generously but carefully.
- Avoid Excessive Force: Applying too much force can damage the chair. Use gentle, steady pressure to avoid breaking components.
Conclusion
Removing the cylinder from an office chair without a pipe wrench is entirely possible with the right approach and tools. By following the steps outlined above, you can successfully disassemble your chair and replace or repair the cylinder as needed. Whether you’re performing maintenance or upgrading your chair, understanding the process will help ensure you get the job done efficiently and effectively.
If you encounter any issues or the cylinder remains stubbornly stuck, consider consulting a professional for assistance. With a little patience and the right techniques, you’ll have your office chair back in working order in no time.

