Office chairs are essential for maintaining comfort and productivity at work. However, over time, components like the piston, also known as the gas cylinder, may need replacement due to wear and tear. Removing and replacing the piston can seem daunting, but with the right tools and steps, you can do it yourself. This guide will walk you through the process of removing the piston from your office chair.
Understanding the Piston (Gas Cylinder)
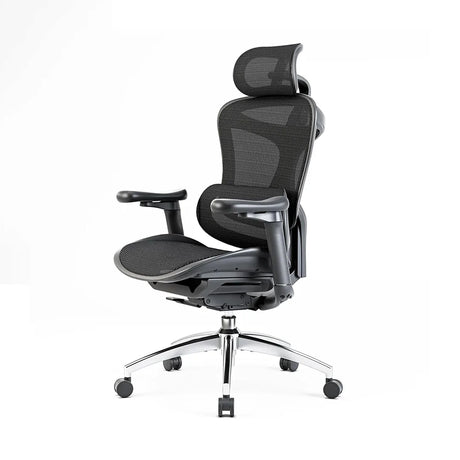
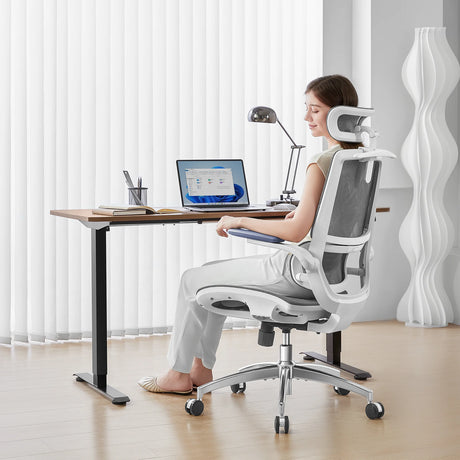
The piston or gas cylinder is the component that allows you to adjust the height of your office chair. It uses pressurized gas to lift and lower the chair, providing ergonomic seating adjustments. When the piston fails, your chair might sink unexpectedly or become stuck at a certain height.
Tools You’ll Need
Before you start, gather the following tools:
- Pipe wrench or adjustable wrench
- Rubber mallet or hammer
- Work gloves
- Screwdriver (if needed for your chair model)
- Penetrating oil (like WD-40)
- Replacement gas cylinder (if you’re replacing the old one)
Step-by-Step Guide to Removing the Piston
- Safety First
- Ensure you’re working in a well-lit area with plenty of space.
- Wear work gloves to protect your hands from sharp edges and to get a better grip on the components.
- Disassemble the Chair Base
- Turn the chair upside down. Place it on a flat surface like a table or the floor.
- Remove the chair base (the legs and wheels) by pulling it off the gas cylinder. In some cases, you may need to use a rubber mallet to gently tap the base off the cylinder. If it’s stuck, apply a small amount of penetrating oil and let it sit for a few minutes to loosen the connection.
- Detach the Piston from the Mechanism
- The gas cylinder is usually attached to the chair’s mechanism (the part under the seat). To detach it, locate the retaining clip or screws that hold the cylinder in place.
- If your chair uses screws, use a screwdriver to remove them. If it uses a retaining clip, you may need to use a pair of pliers to remove it.
- Remove the Gas Cylinder
- With the base removed and the retaining clip or screws taken out, you can now remove the gas cylinder. Use a pipe wrench or adjustable wrench to grip the gas cylinder firmly. Twist it counterclockwise to loosen and remove it from the chair mechanism.
- If the cylinder is stubborn and won’t budge, apply more penetrating oil and wait a few minutes before trying again. Be patient and avoid using excessive force, as this can damage the chair components.
- Inspect the Components
- Once you’ve removed the gas cylinder, inspect the chair mechanism and the base for any signs of damage or wear. Clean any debris or dirt from the components to ensure smooth reassembly.
Replacing the Gas Cylinder (Optional)
If you’re replacing the old gas cylinder with a new one, follow these additional steps:
- Install the New Gas Cylinder
- Insert the new gas cylinder into the chair mechanism. Ensure it is fully seated and secure.
- If your chair uses screws or a retaining clip, reattach them to secure the new cylinder in place.
- Reattach the Chair Base
- Place the chair base back onto the new gas cylinder. You may need to tap it gently with a rubber mallet to ensure it’s firmly attached.
- Turn the chair upright and sit on it to help the base settle securely onto the cylinder.
- Test the Chair
- Test the height adjustment feature to ensure the new gas cylinder is working correctly. Adjust the chair to your desired height and check for smooth operation.
Tips for Success
- Patience is Key: Removing a gas cylinder can be challenging, especially if it’s been in place for a long time. Take your time and use penetrating oil to help loosen stubborn components.
- Proper Tools: Using the right tools, like a pipe wrench and rubber mallet, can make the process easier and prevent damage to the chair.
- Follow Manufacturer Instructions: Refer to your chair’s manual for specific instructions and diagrams related to disassembly and reassembly.
Common Issues and Troubleshooting
- Stuck Gas Cylinder: If the cylinder is stuck, apply more penetrating oil and let it sit longer. Gently tap around the cylinder with a rubber mallet to help loosen it.
- Wobbly Chair After Reassembly: Ensure all components are securely fastened and that the new gas cylinder is properly seated in both the chair mechanism and the base.
Conclusion
Removing and replacing the piston from an office chairs can extend its lifespan and restore its functionality. By following this step-by-step guide and using the right tools, you can tackle this task with confidence. Whether you’re dealing with a faulty gas cylinder or simply looking to upgrade, knowing how to handle this maintenance task can save you time and money. Remember to work patiently and carefully, ensuring each component is securely reassembled for a comfortable and reliable seating experience.