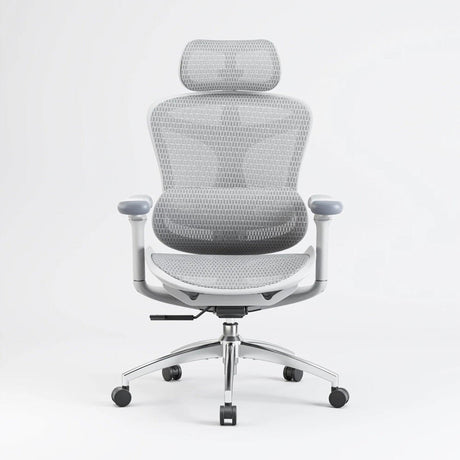
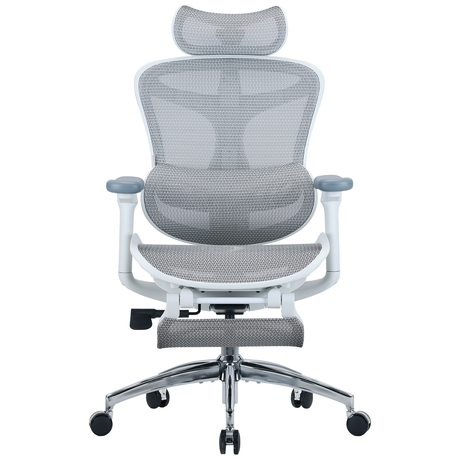
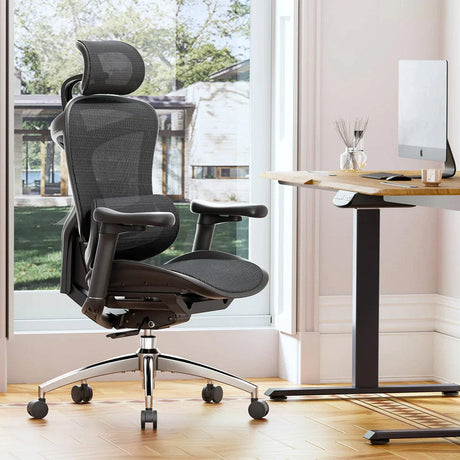
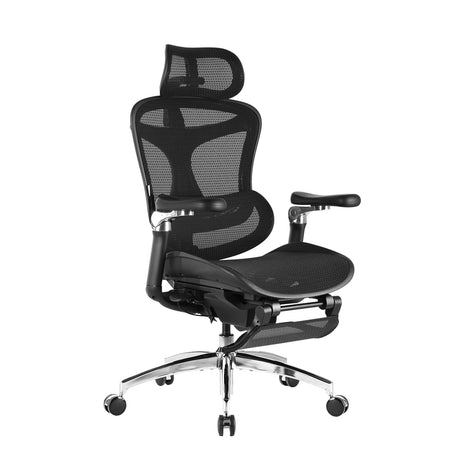
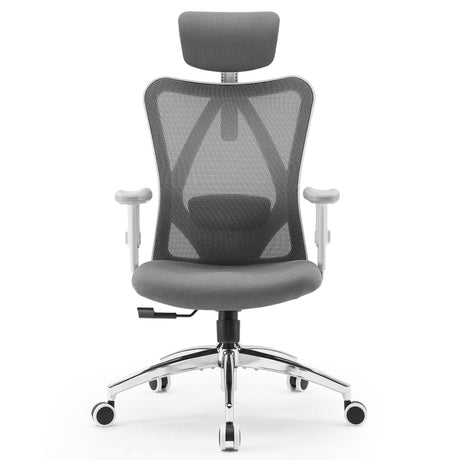
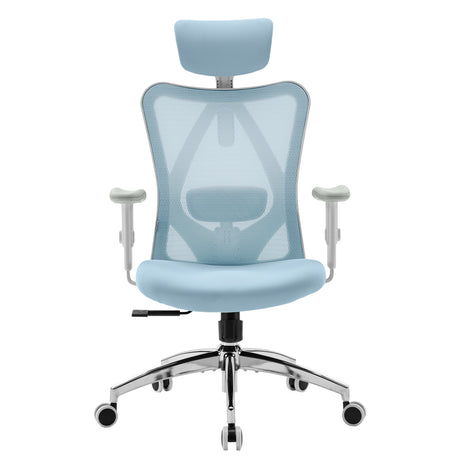
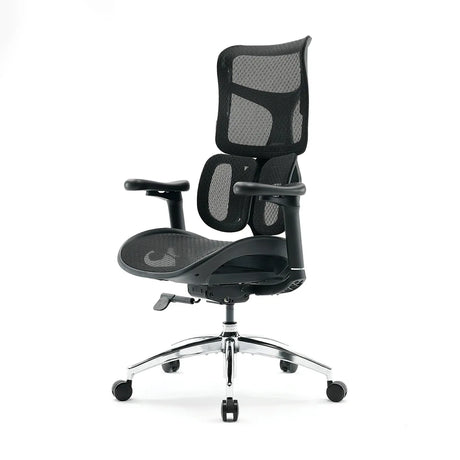
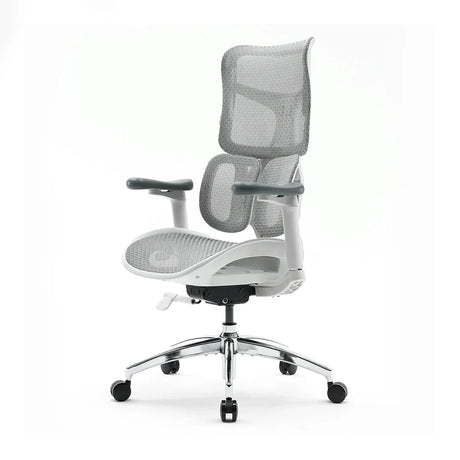
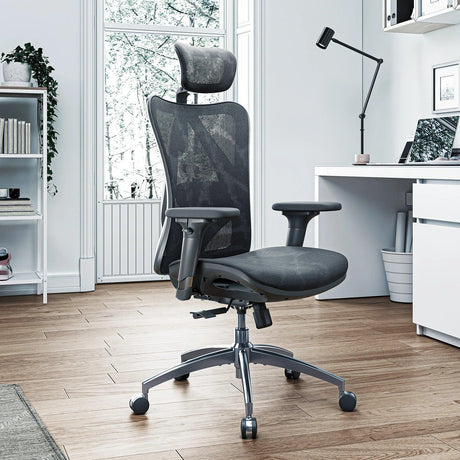
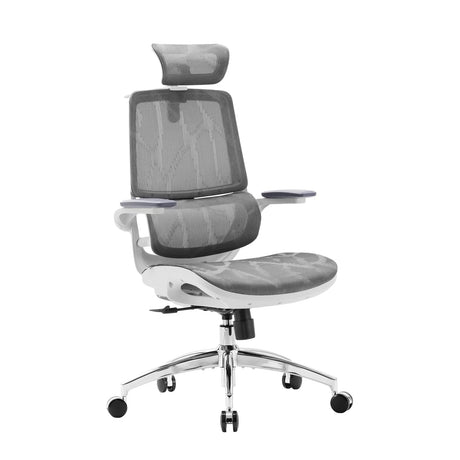
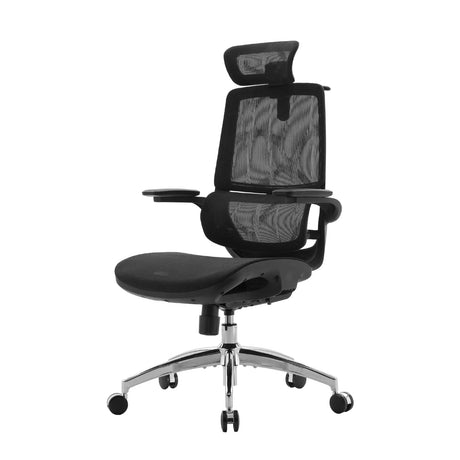
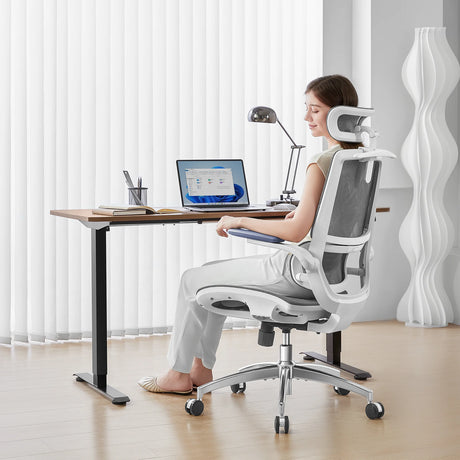
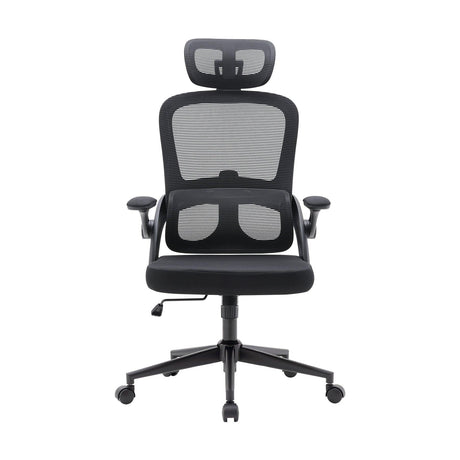
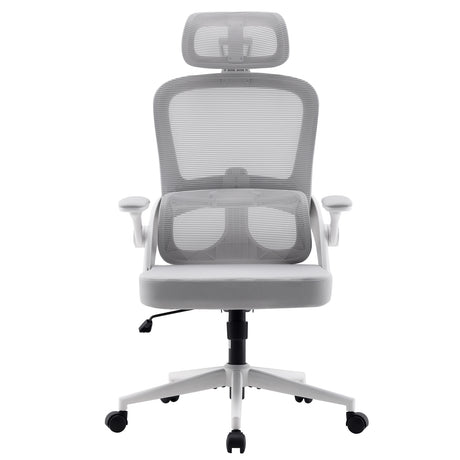
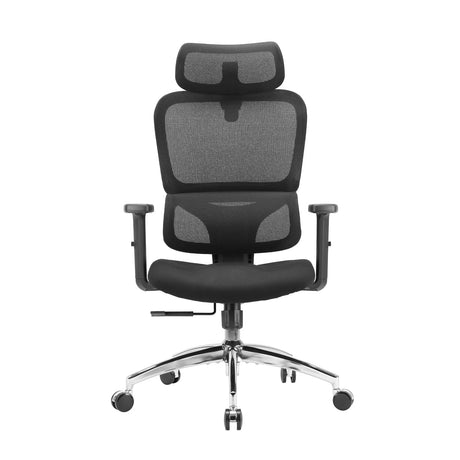
As more people transition to remote work or hybrid models, the need for an ergonomic office chair is paramount. However, simply investing in an ergonomic chair isn’t enough; it’s essential to know how to adjust it properly to achieve maximum comfort and support. In this blog post, we’ll explore the key adjustments you can make to your ergonomic office chair to enhance your sitting experience, reduce discomfort, and improve productivity.
1. Understand the Anatomy of Your Ergonomic Chair
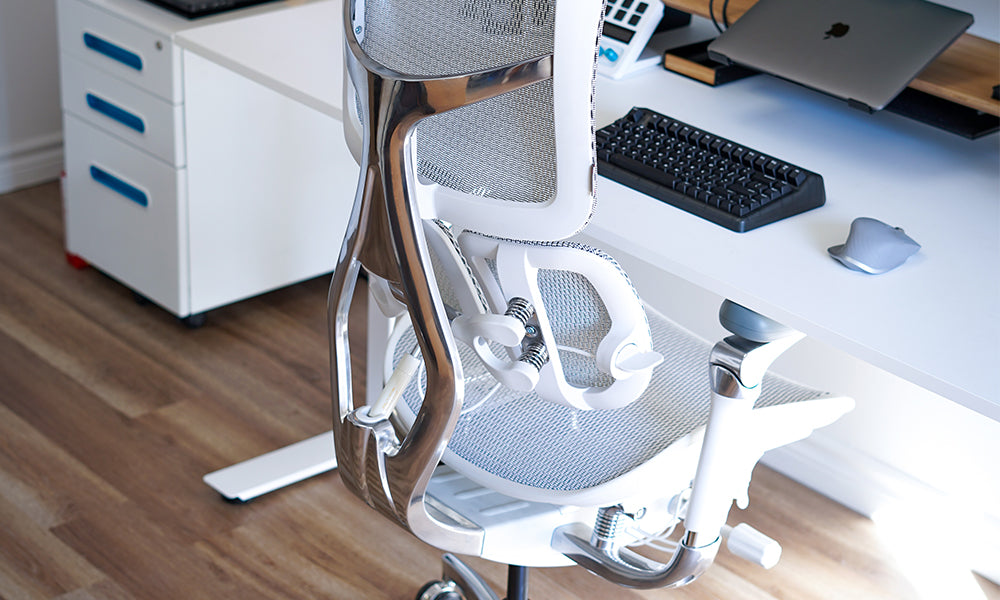
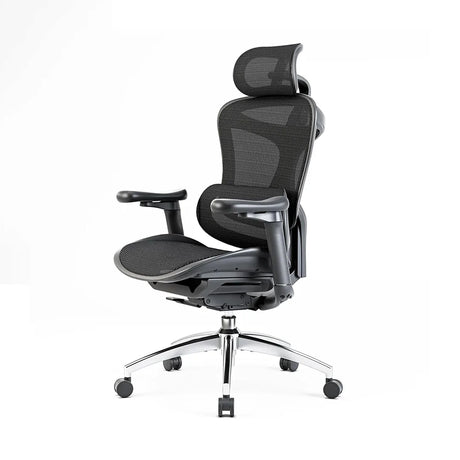
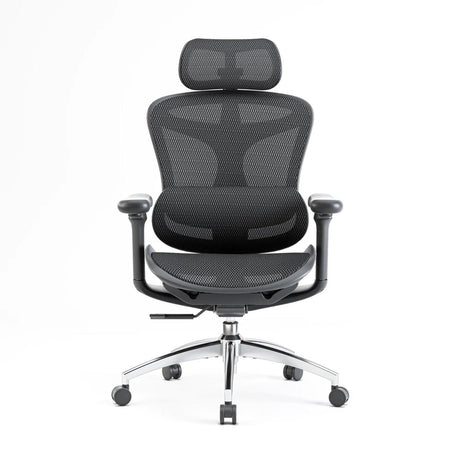
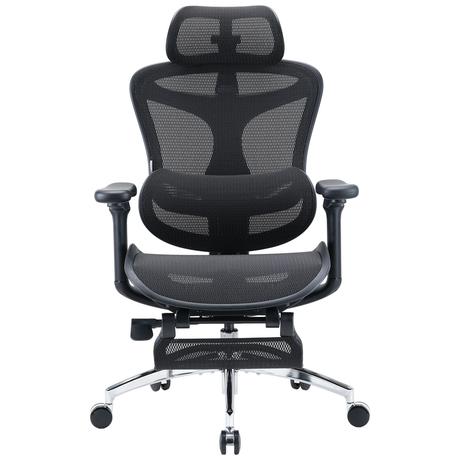
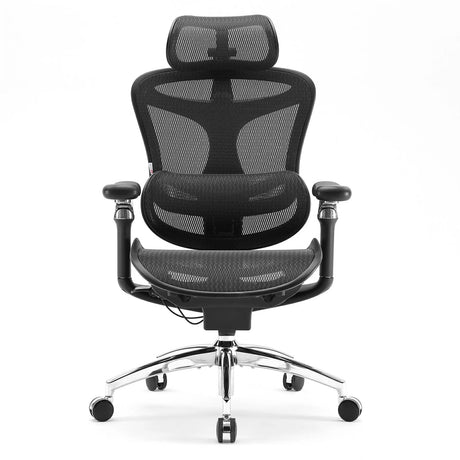
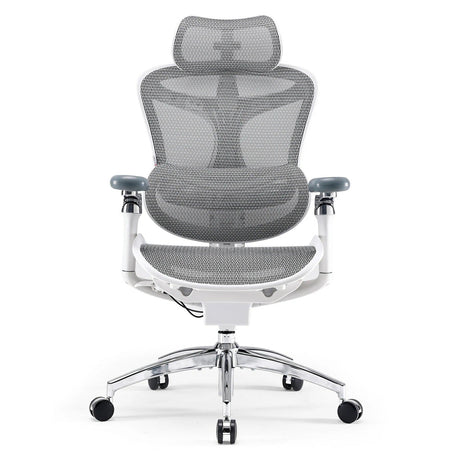
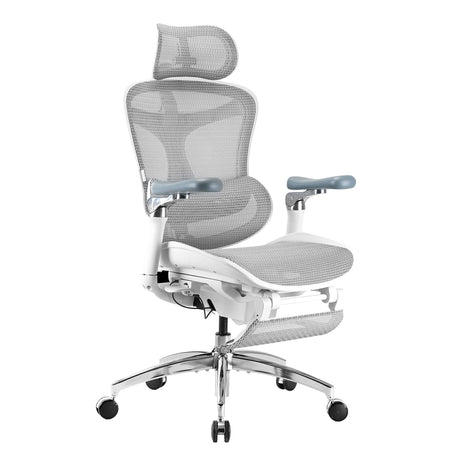
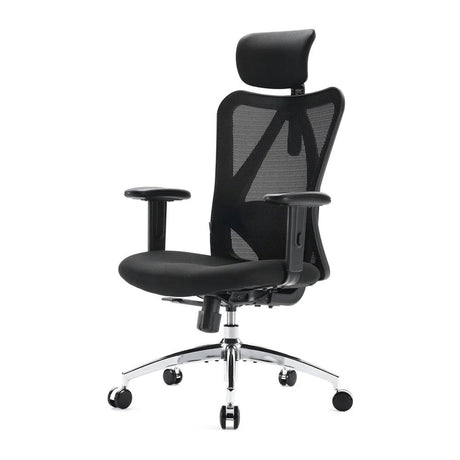
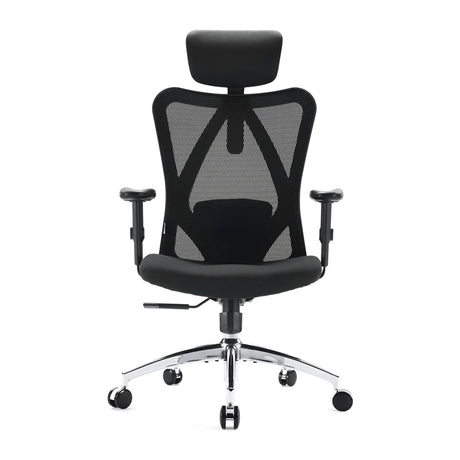
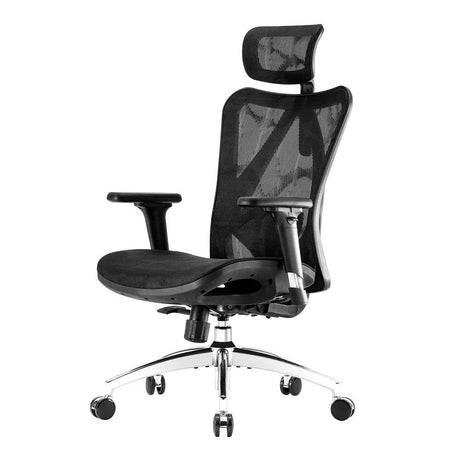
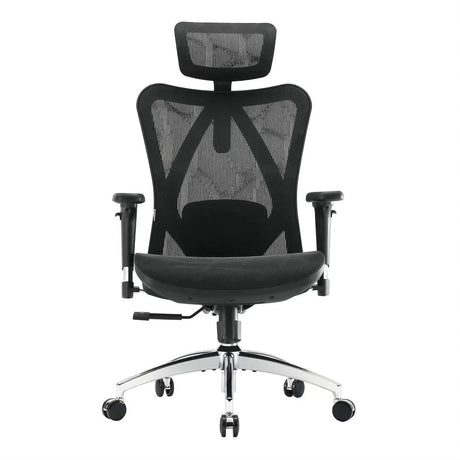
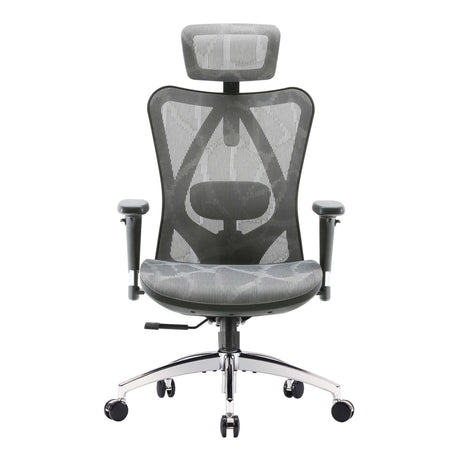
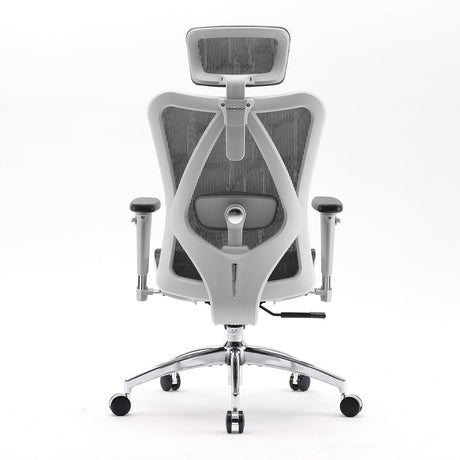
Before diving into adjustments, familiarize yourself with the various components of your ergonomic chairs. Most ergonomic chairs come with adjustable features, including:
Seat Height: Controls how high or low you sit.
Backrest Angle: Adjusts the angle of the backrest to provide lumbar support.
Lumbar Support: Supports the lower back to maintain proper spinal alignment.
Seat Depth: Adjusts how far back your seat extends.
Armrest Height and Width: Adjusts the position of the armrests for comfort and support.
Tilt Tension: Controls how easily the chair reclines.
Understanding these components will help you make the right adjustments for your body.
2. Adjust the Seat Height
The first step to proper chair adjustment is setting the correct seat height. To do this:
Sit down in your chair and keep your feet flat on the floor.
Adjust the seat height so that your knees are at a 90-degree angle, with your thighs parallel to the ground. Your feet should rest comfortably on the floor or a footrest, allowing your hips to be slightly higher than your knees.
If your chair has a lever, pull it up or down to raise or lower the seat.
Proper seat height prevents strain on your legs and promotes better circulation.
3. Set the Seat Depth
Seat depth is crucial for ensuring your back receives proper support without pressure on the back of your knees. To adjust the seat depth:
Sit back in the chair so your back is against the backrest.
Adjust the seat depth so there is a gap of about 2-4 inches between the back of your knees and the front edge of the seat.
If your chair doesn’t have a seat depth adjustment, consider using a cushion or changing your chair to one that does.
Proper seat depth helps maintain circulation and comfort during long hours of sitting.
4. Position the Lumbar Support
Lumbar support is designed to fit the natural curve of your spine, providing crucial support for your lower back. Here’s how to adjust it:
Sit back in your chair and locate the lumbar support feature, usually a dial or lever.
Adjust the lumbar support so that it fits snugly against your lower back. Ideally, it should fill the curve of your lower spine, helping to maintain proper alignment.
If your chair has a movable backrest, lean back slightly and adjust the backrest to the desired angle, ensuring your back remains supported.
Proper lumbar support reduces the risk of back pain and enhances your overall comfort.
5. Set the Backrest Angle
The angle of your backrest plays a vital role in comfort and support. To adjust the backrest angle:
Find the backrest angle lever or knob.
Lean back slightly and adjust the angle so that your back remains supported and relaxed. The angle should allow for a slight recline, generally between 100 to 110 degrees, which can relieve pressure on your spine.
Lock the backrest in place once you find the desired angle.
A well-positioned backrest promotes better posture and reduces fatigue.
6. Adjust the Armrests
Properly positioned armrests can help reduce strain on your shoulders and neck. Follow these steps to adjust them:
Sit comfortably in your chair with your arms resting at your sides.
Adjust the armrests so that your elbows are at a 90-degree angle and your forearms are parallel to the ground.
If your armrests are too high or low, they can lead to shoulder tension, so make adjustments as needed.
Having the right armrest height helps maintain a relaxed shoulder position and reduces the risk of discomfort.
7. Fine-Tune the Tilt Tension
The tilt tension of your chair controls how easily you can recline. To adjust it:
Locate the tilt tension knob usually found under the seat.
Sit in your chair and test the recline function.
Adjust the tension so that you can recline comfortably without the chair tipping over too easily or being too stiff.
Proper tilt tension enhances your ability to shift positions throughout the day, promoting movement and circulation.
8. Take Breaks and Move
Even with a perfectly adjusted ergonomic chair, sitting for prolonged periods can lead to discomfort. To ensure maximum comfort and well-being:
Take regular breaks: Stand up, stretch, and walk around every 30 to 60 minutes.
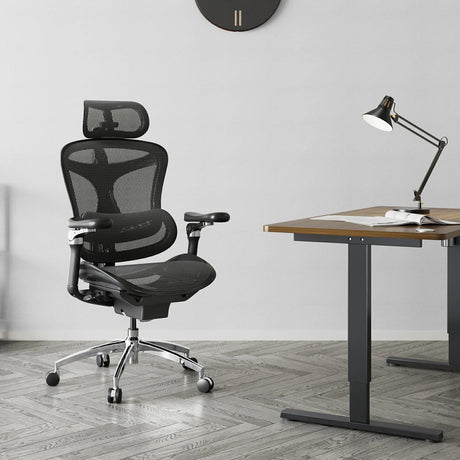
Incorporate movement: Use a standing desk or take brief walks to keep your blood flowing.
Conclusion
Adjusting your ergonomic office chairs properly is essential for achieving maximum comfort and support while working. By following the steps outlined above, you can create a personalized seating experience that minimizes discomfort, reduces the risk of injury, and enhances productivity. Remember that everyone’s body is different, so take the time to make adjustments that work for you. Your body will thank you!
