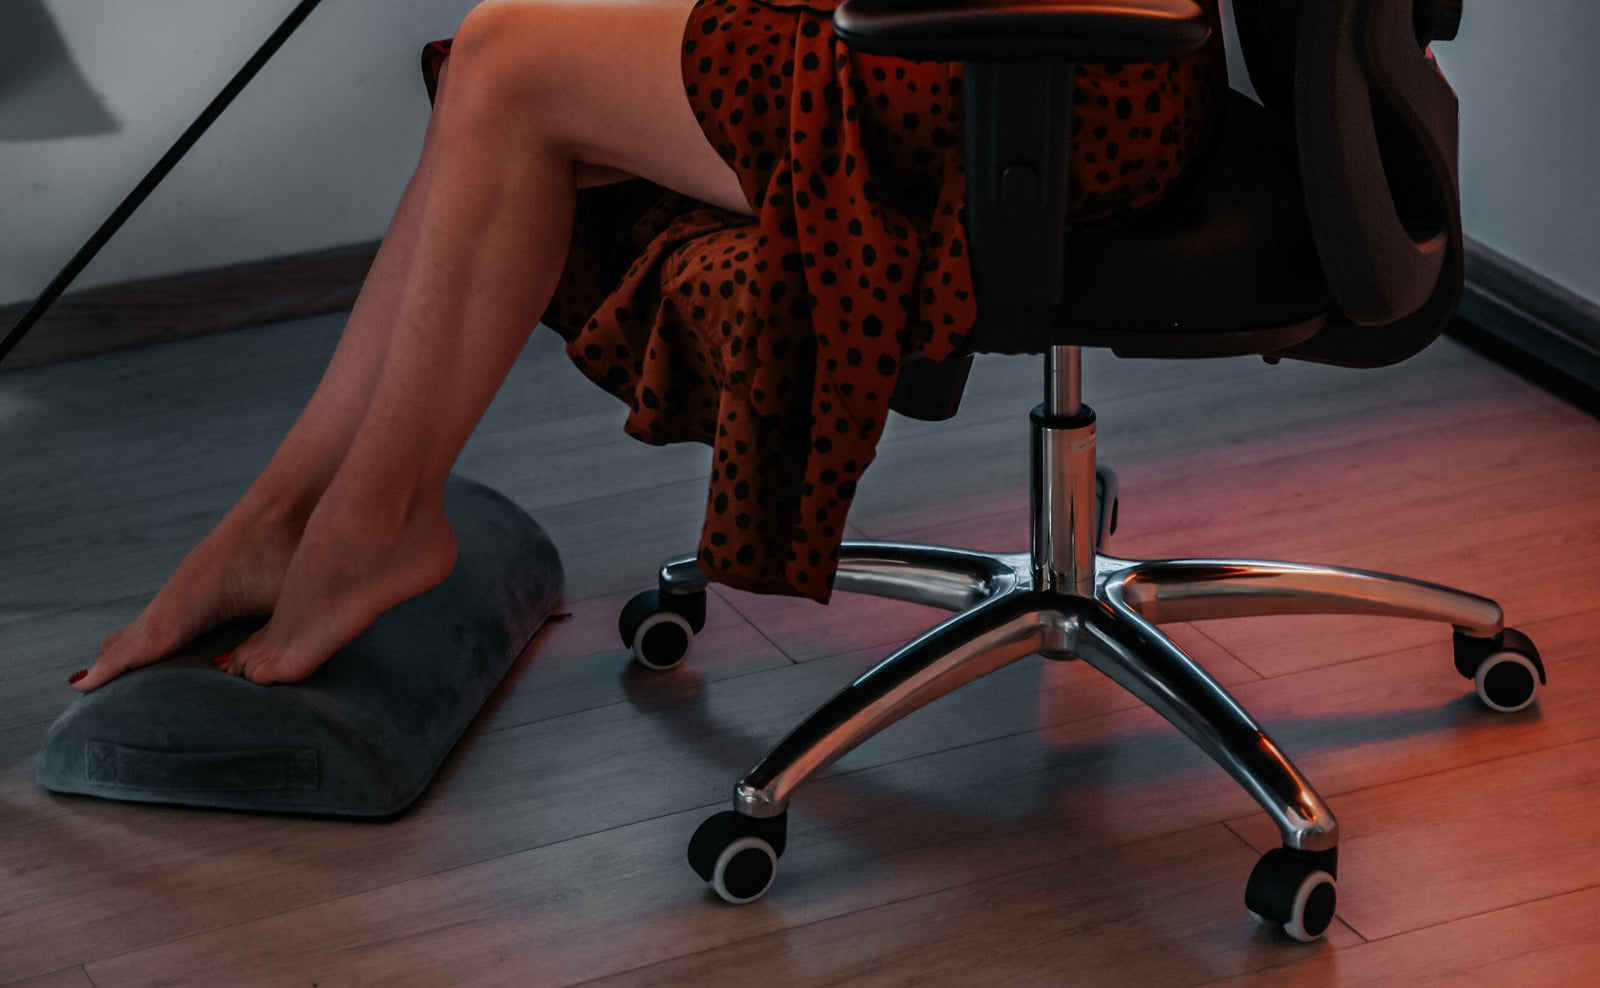
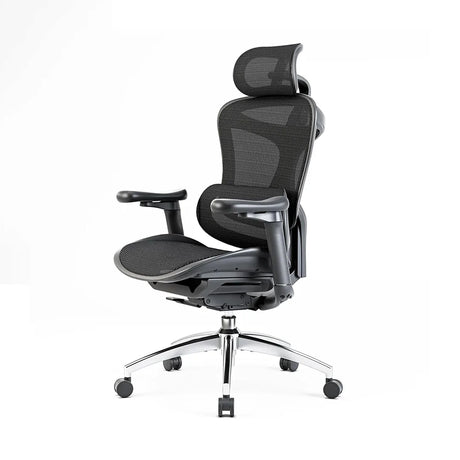
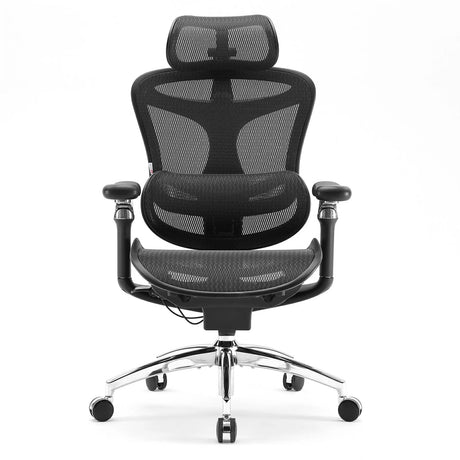
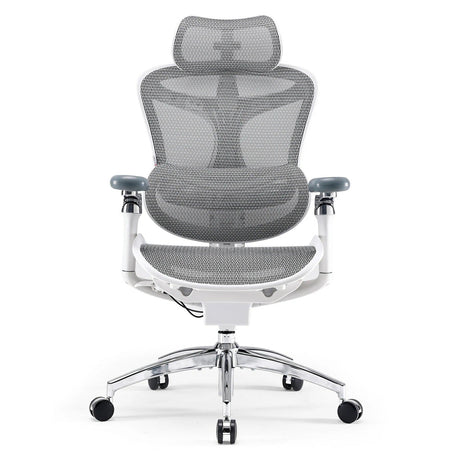
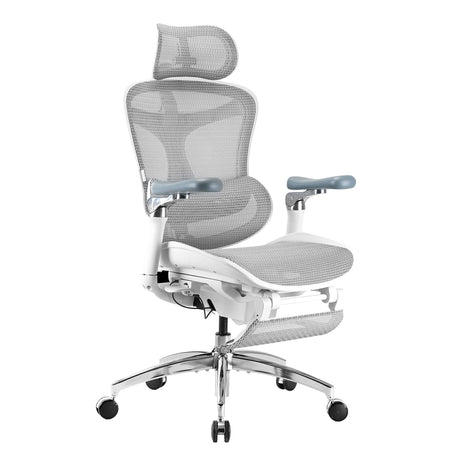
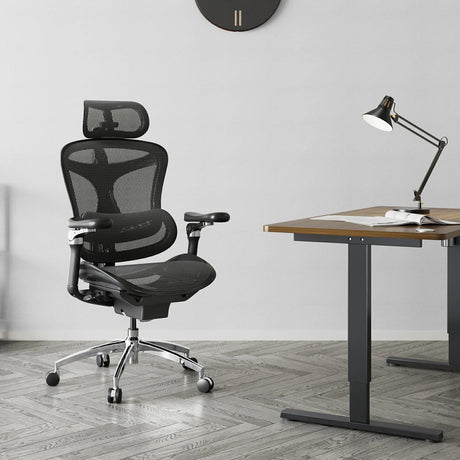
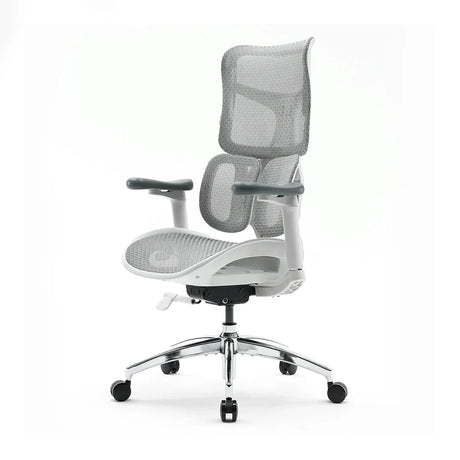
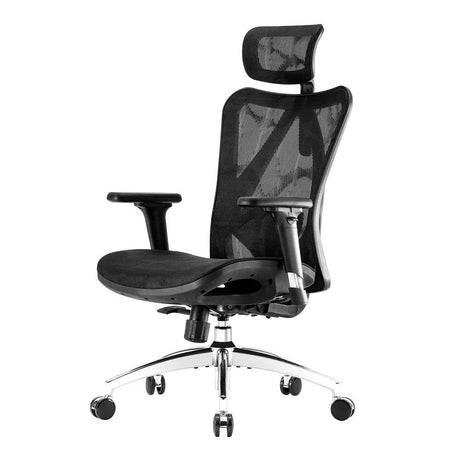
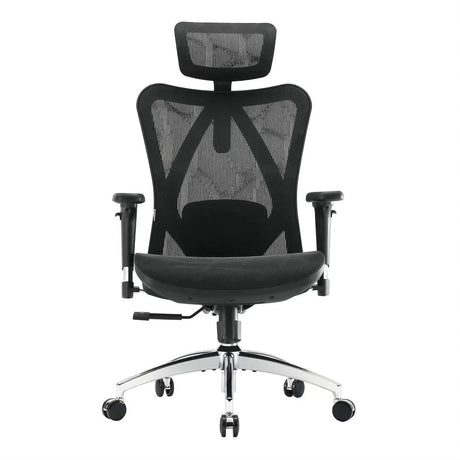
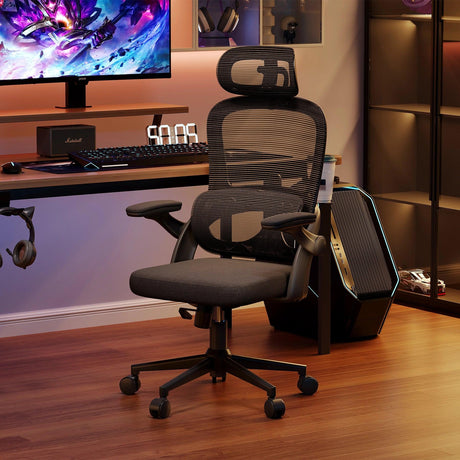
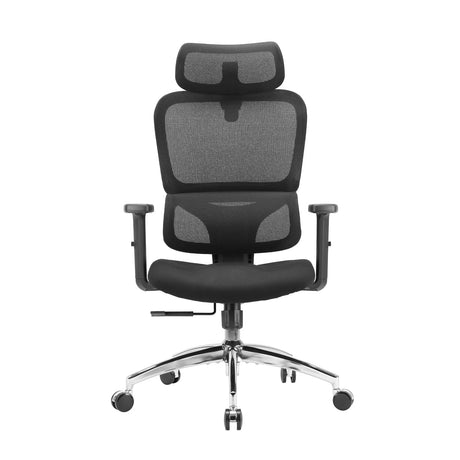
Office chair wheels are an essential part of any office furniture, as they allow for easy mobility and movement around the office. However, over time, they can accumulate dirt, dust, and other debris, which can cause them to become stiff and difficult to move. This can be frustrating for anyone trying to move around their workspace, and it can also lead to damage to the flooring. Cleaning office chair wheels is a straightforward process that can be done with a few simple tools and techniques. In this article, we will provide you with a step-by-step guide on how to clean office chair wheels effectively.

Step 1: Remove the Wheels from the Chair
The first step in cleaning office chair wheels is to remove them from the chair. Most office chairs have wheels that can be removed easily by pulling them off the stem. Some wheels may require a bit of force to remove, but they should come off without damaging the chair. If you are having difficulty removing the wheels, try using a pair of pliers or a wrench to help loosen them.
Step 2: Inspect the Wheels
Once you have removed the wheels from the chair, take a close look at them to see if there are any visible signs of damage or wear. Check for cracks or other signs of wear and tear, and if you notice any significant damage, it may be time to replace the wheels entirely. If the wheels are in good condition, proceed to the next step.
Step 3: Remove Debris from the Wheels
The next step is to remove any dirt, dust, or debris from the wheels. There are several methods you can use to do this, depending on the level of dirt and debris on the wheels. Here are some of the most effective ways to clean office chair wheels:

Method 1: Use a Damp Cloth or Sponge
One of the easiest and most effective ways to clean office chair wheels is to use a damp cloth or sponge. Simply moisten a cloth or sponge with warm water and use it to wipe down the wheels, making sure to remove any visible dirt or debris. This method is gentle and effective, and it can be used on most types of wheels.
Method 2: Use a Toothbrush
For more stubborn dirt or debris, you may want to use a toothbrush to scrub the wheels. Dip the toothbrush into warm, soapy water and use it to scrub the wheels thoroughly, paying extra attention to any hard-to-reach areas. This method can be especially useful for removing dirt that has become caked onto the wheels over time.
Method 3: Use a Vacuum Cleaner
If there is a significant amount of dirt or debris on the wheels, you may want to use a vacuum cleaner to remove it. Attach a brush attachment to the vacuum and use it to suck up any visible dirt or debris on the wheels. This method can be especially useful for cleaning wheels with a lot of crevices or hard-to-reach areas.
Step 4: Clean the Stem
In addition to cleaning the wheels themselves, it's also important to clean the stem that the wheels attach to. This can be done using a damp cloth or sponge, or a toothbrush if there is a lot of dirt or debris on the stem. Make sure to remove any visible dirt or debris from the stem, as this can cause the wheels to become stiff or difficult to move.

Step 5: Dry the Wheels and Stem
After you have finished cleaning the wheels and stem, it's important to dry them thoroughly before reattaching the wheels to the chair. Use a clean, dry cloth to wipe down the wheels and stem, making sure to remove any excess moisture. Allow the wheels and stem to air dry for a few minutes before reattaching the wheels to the chair.
Step 6: Reattach the Wheels to the Chair
Once the wheels and stem are dry, you can reattach the wheels to the chair. Simply push the wheels back onto the stem until they click into place. Make sure the wheels are securely attached to the chair, as loose wheels can be dangerous and can cause damage to the flooring.
Step 7: Test the Wheels
After reattaching the wheels to the chair, it's important to test them to make sure they are moving smoothly and without any issues. Sit in the chair and move around to test the wheels, making sure they are rolling smoothly and without any wobbling or stiffness.
Tips for Maintaining Clean Office Chair Wheels
Cleaning your office chair wheels regularly is an important part of maintaining your office furniture and keeping your workspace clean and hygienic. Here are some tips for maintaining clean office chair wheels:
- Clean your office chair wheels regularly: Make sure to clean your office chair wheels at least once every few months to prevent dirt and debris from building up.
- Use a mat: If you have a carpeted office, consider using a mat under your chair to prevent dirt and debris from getting into the wheels.
- Replace damaged wheels: If you notice any significant damage or wear and tear on your office chair wheels, it may be time to replace them entirely.
- Use a lubricant: Applying a lubricant to the wheels can help to keep them moving smoothly and prevent them from becoming stiff or difficult to move.
- Store your chair properly: When not in use, make sure to store your chair in a dry, clean area to prevent dirt and debris from building up on the wheels.

Conclusion
Cleaning office chair wheels is a straightforward process that can be done with a few simple tools and techniques. Regular cleaning and maintenance of your office chair wheels can help to keep your workspace clean and hygienic, as well as prevent damage to your office furniture and flooring. By following the steps outlined in this article, you can easily clean your office chair wheels and maintain them in good condition.
Remember to remove the wheels from the chair, inspect them for any signs of damage or wear, and use a damp cloth or sponge, a toothbrush, or a vacuum cleaner to remove any dirt or debris from the wheels. Clean the stem that the wheels attach to, dry the wheels and stem thoroughly, reattach the wheels to the chair, and test them to ensure they are moving smoothly.
Regular maintenance of your office chair wheels can help to prolong their lifespan and keep your workspace clean and comfortable. So take the time to clean your office chair wheels regularly, and enjoy the benefits of a clean and hygienic workspace!
