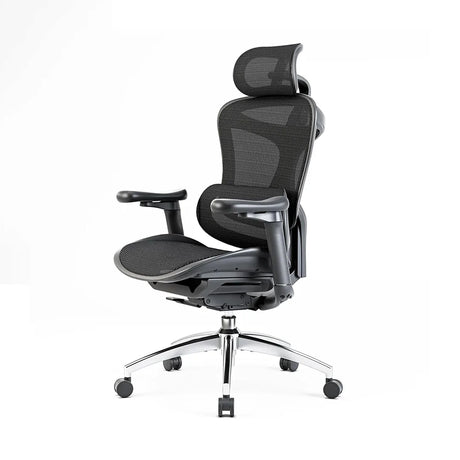
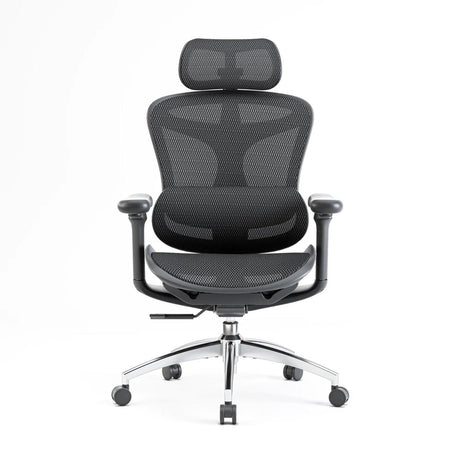
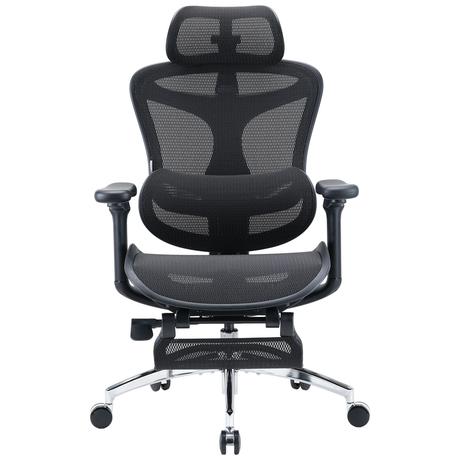
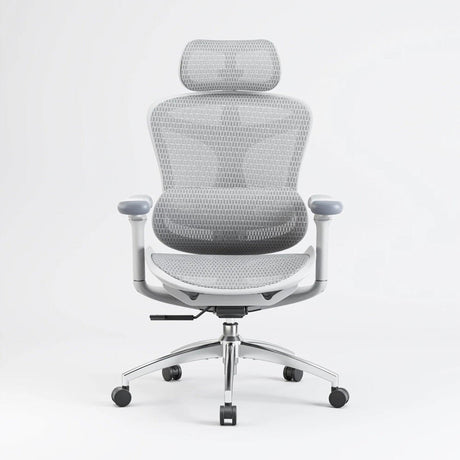
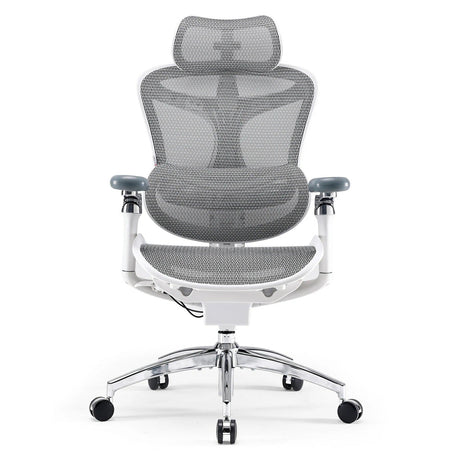
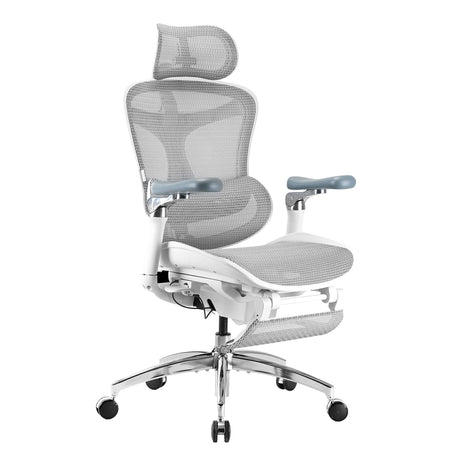
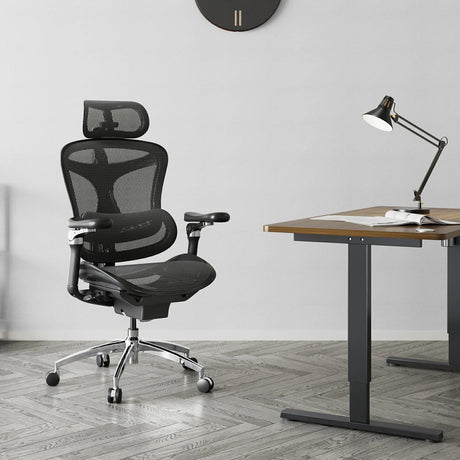
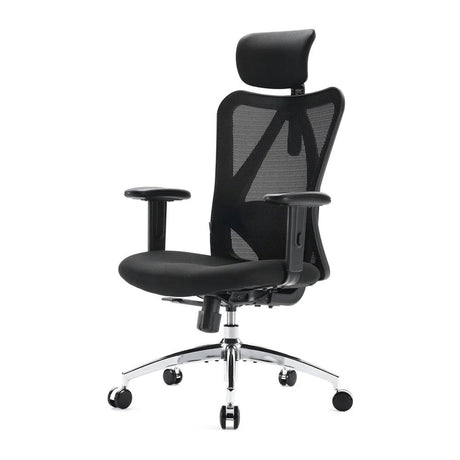
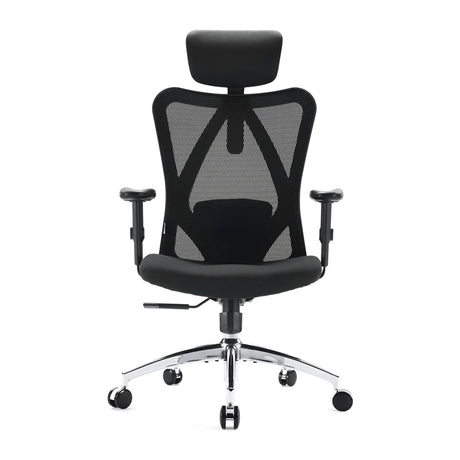
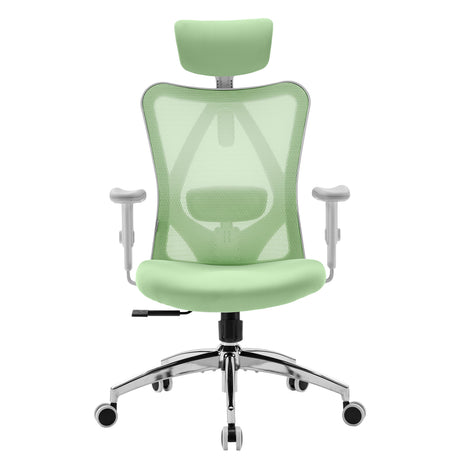
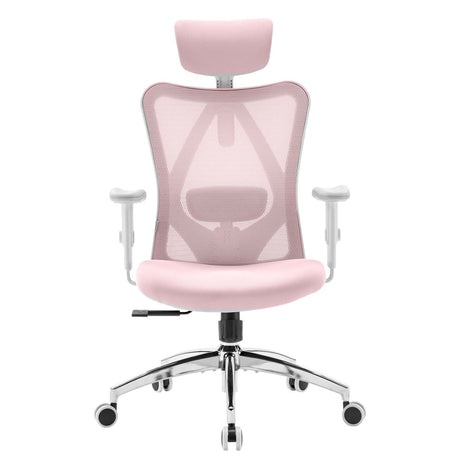
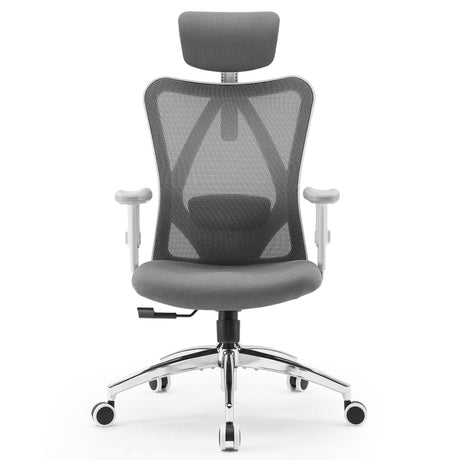
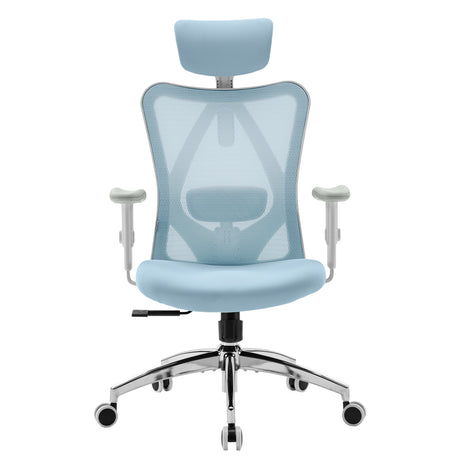
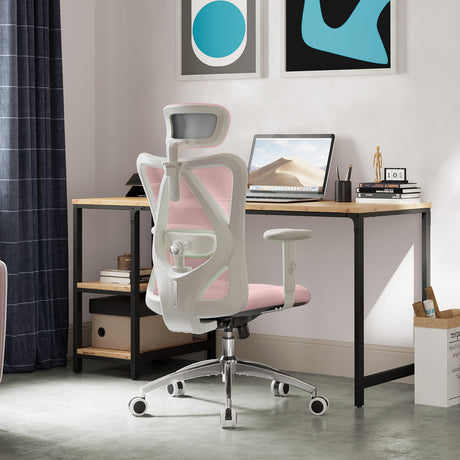
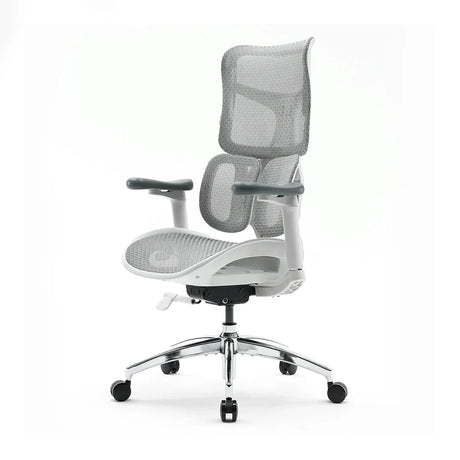
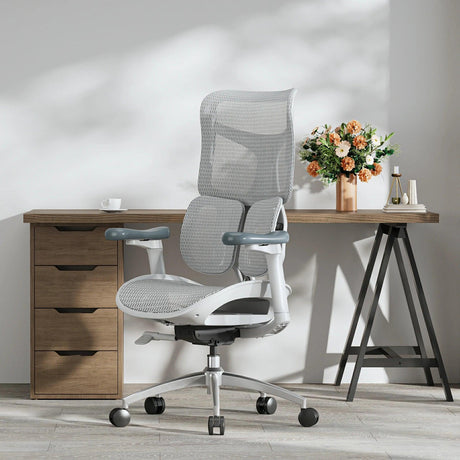
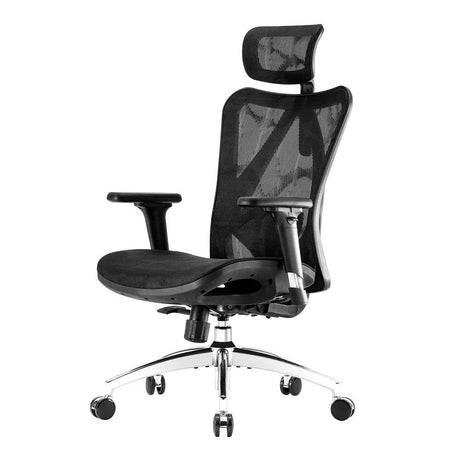
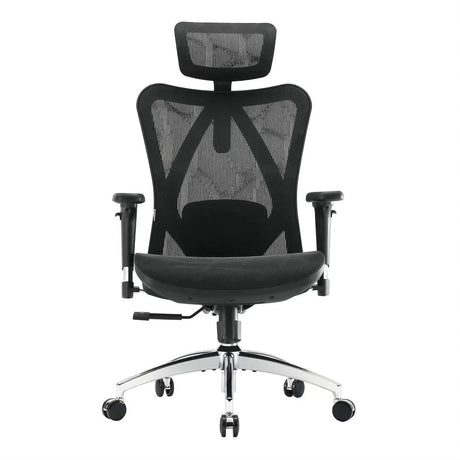
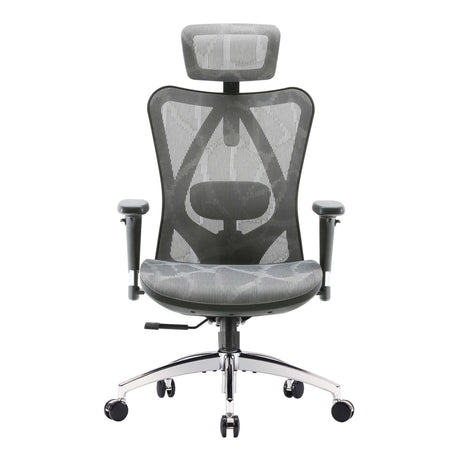
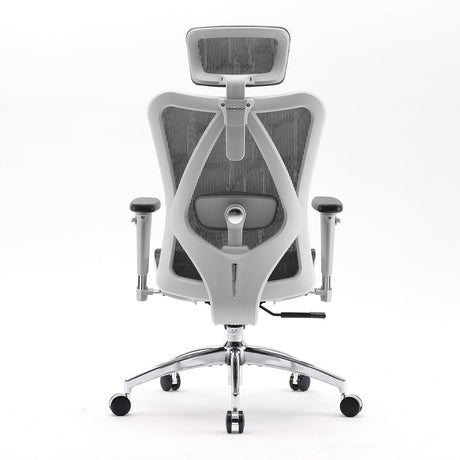
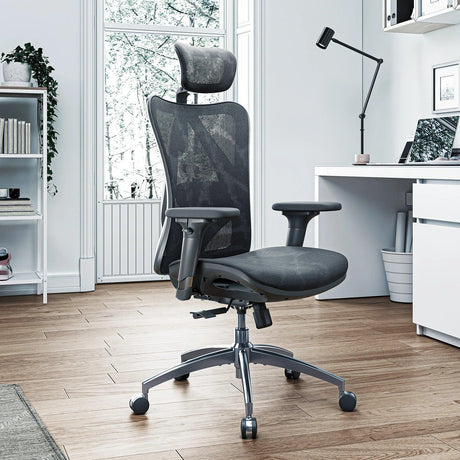
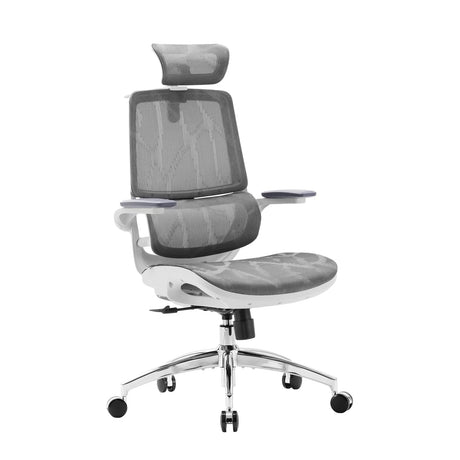
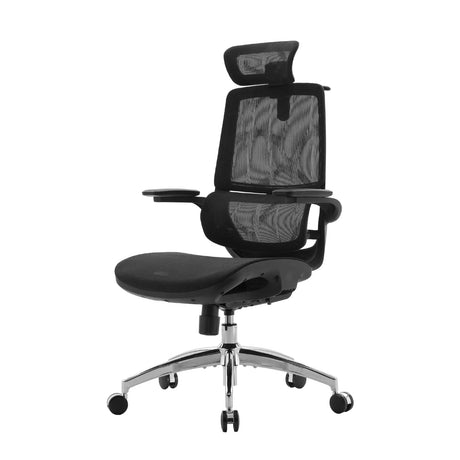
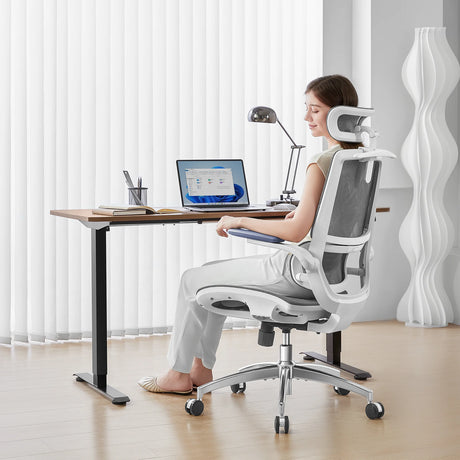
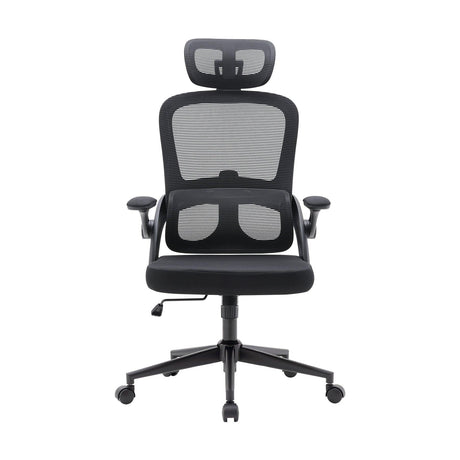
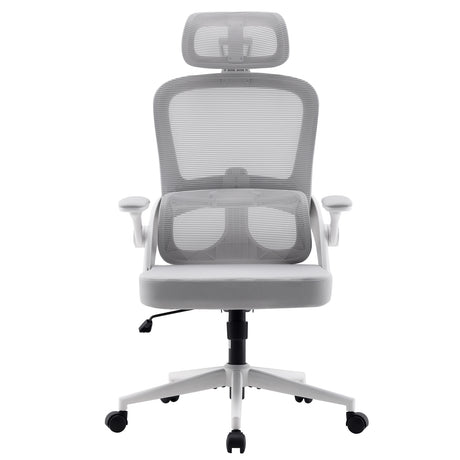
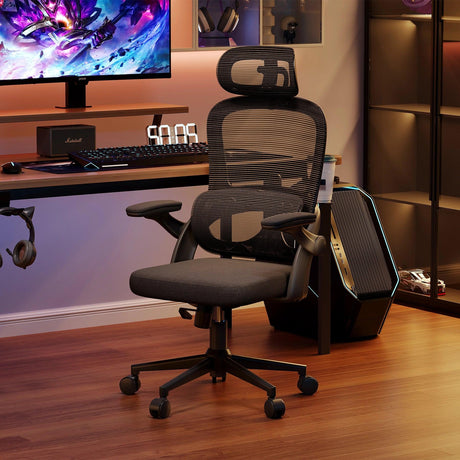
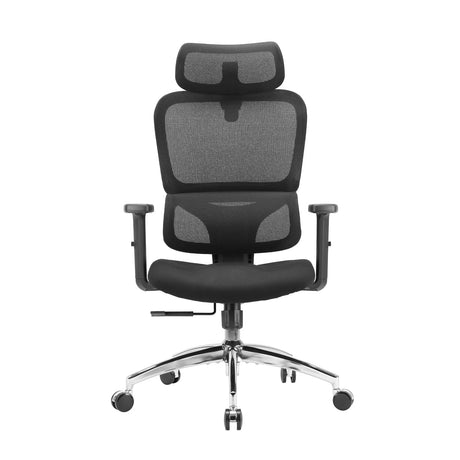
Office chairs are an essential part of any workspace, and while they provide comfort and support, the armrests can often take a beating from daily use. Whether it's due to wear and tear, spills, or just the need for a little extra padding, armrest covers are an excellent way to protect your chair and add a personal touch to your workspace. Instead of purchasing expensive armrest covers, why not try your hand at making your own? It’s an affordable, customizable solution that you can tailor to your chair’s design and your personal style. In this DIY guide, we’ll show you how to make simple, stylish office chair arm covers.
Materials You’ll Need:
- Fabric: Choose a durable, comfortable fabric. Cotton, polyester, or microfiber are all great options for arm covers. For added luxury and comfort, consider a fabric like faux leather or velvet.
- Scissors: A sharp pair of fabric scissors will give you a clean edge.
- Measuring tape: To ensure the arm covers fit your office chair perfectly.
- Sewing machine or needle and thread: If you have a sewing machine, it will speed up the process. Otherwise, a hand-sewing method will work just as well.
- Padding (optional): If you want extra cushioning, consider adding a layer of foam, cotton batting, or felt to the fabric before sewing.
- Elastic or Velcro (optional): For a secure fit, you can use elastic bands or Velcro strips to keep the covers in place.
- Pins: To secure the fabric in place before sewing.
- Iron and ironing board: To smooth out your fabric and make sure the seams are crisp.
Step-by-Step Instructions:
1. Measure Your Chair Armrests
Start by measuring the length, width, and height of your office chair’s armrests. Use a measuring tape to get accurate dimensions. You’ll need these measurements to cut your fabric to the correct size. Be sure to account for a little extra fabric for hemming and seam allowance, typically about 1-2 inches on each side.
- Length: Measure from the front to the back of the armrest.
- Width: Measure the width of the armrest.
- Height (Thickness): Measure how tall the armrest is from the base to the top.
2. Cut Your Fabric
Once you have your measurements, cut the fabric accordingly. You’ll need two pieces of fabric for each armrest (one for the top and one for the bottom), plus a strip of fabric to cover the sides.
- For the top and bottom: Cut two pieces of fabric in a rectangular shape, ensuring they are slightly larger than the armrest for proper coverage.
- For the sides: Cut a strip of fabric that matches the length and height of your armrest. This strip will wrap around the sides to give the cover a seamless look.
If you want additional padding, cut your foam or batting to match the size of the armrest.
3. Assemble the Armrest Cover
Now it’s time to start assembling the cover:
- Padding (optional): If you're using padding, attach it to the underside of the fabric for the top piece. You can use fabric glue or simply pin the foam in place. If using batting, stitch it along the edges to hold it in place.
- Side strips: Fold the fabric strips over the sides of the armrest and pin them into place. You can sew the sides first to create a tube-like effect.
- Top and bottom: Lay the top and bottom fabric pieces on the armrest, with the padded side facing inward. Pin the fabric along the edges of the armrest to ensure a snug fit.
4. Sew the Pieces Together
Once everything is pinned, use a sewing machine to stitch the fabric together. If you’re doing this by hand, a whip stitch or a simple running stitch will work fine. Be sure to leave a small seam allowance of about ¼ inch to ensure the fabric won’t fray.
- Sew the top and side pieces together: Start by attaching the side fabric to the top piece, then repeat for the bottom fabric.
- Secure the sides: If you want extra security, you can stitch the sides to create a more fitted, custom shape.
- Finish the edges: To prevent fraying, you can either use a zigzag stitch along the edges or apply fabric glue.
5. Add Elastic or Velcro (Optional)
To ensure the arm covers stay in place and don’t slide off, you can add elastic bands or Velcro strips to the ends.
- Elastic: Sew an elastic band along the edges of the armrest covers to help them hug the armrest tightly.
- Velcro: Alternatively, you can sew Velcro strips onto the inside of the cover and the armrest. This method allows for easy removal and cleaning.
6. Iron the Covers
Before attaching the covers to your chair, iron the fabric to remove any wrinkles and give the covers a professional finish. Use the appropriate heat setting for the fabric you're working with.
7. Attach the Armrest Covers
Finally, slip the armrest covers over the arms of your office chair. If you used Velcro or elastic, secure them tightly around the armrests. Make sure the cover fits snugly and comfortably, adjusting if needed.
Additional Customization Tips:
- Embroidery or Appliqué: Add a personal touch by embroidering your name, initials, or a design onto the fabric.
- Patterns and Colors: Choose fabric in colors or patterns that match your office décor for a coordinated look.
- Waterproof Fabric: If your office chair is used frequently for eating or drinking, consider using waterproof fabric to protect against spills.
- Non-Slip Backing: For extra security, you can add a non-slip backing (like shelf liner or silicone) to the inside of the cover to prevent it from sliding.
Conclusion
Making your own office chair arm covers is an affordable, easy way to add comfort, protection, and a personal touch to your workspace. By following these simple steps, you can create armrest covers that not only protect your chair from wear and tear but also enhance the overall look and feel of your office. So grab some fabric, get creative, and give your office chair a makeover that’s both functional and stylish!

