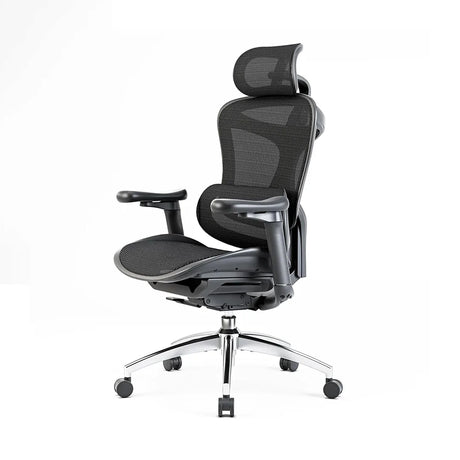
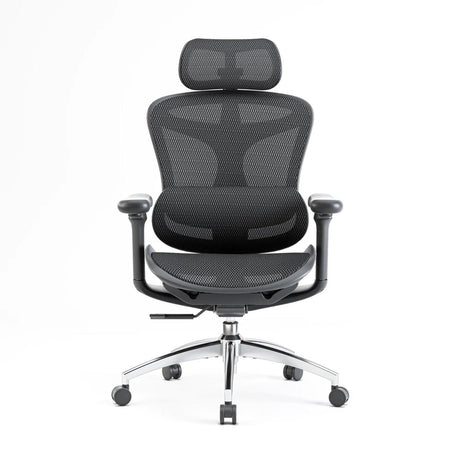
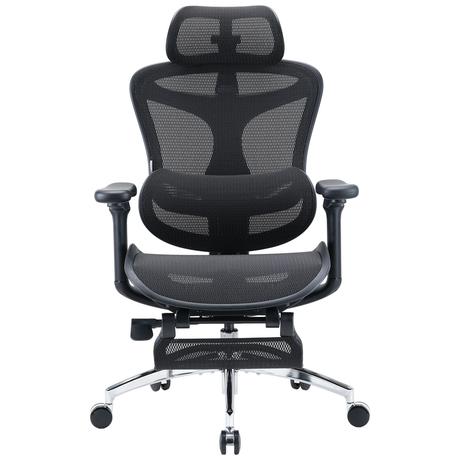
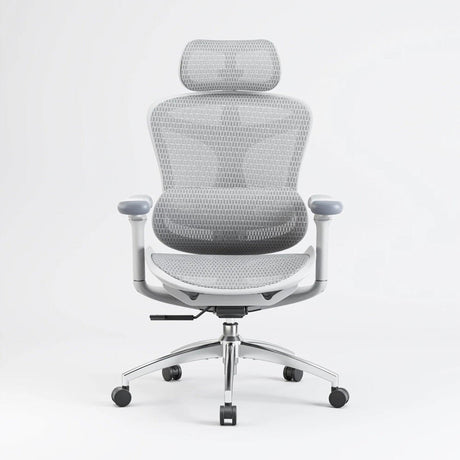
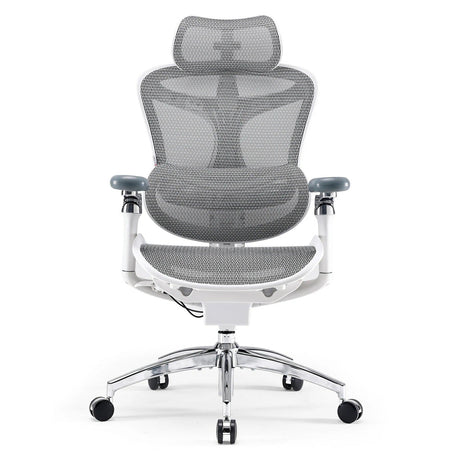
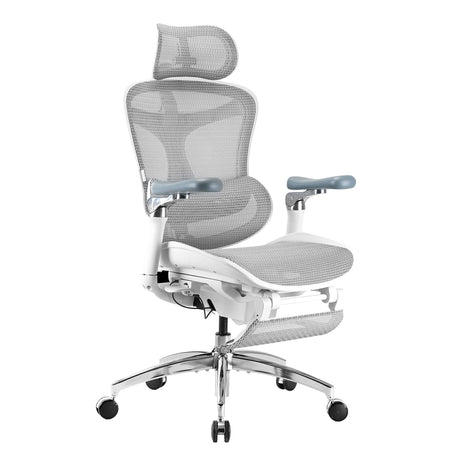
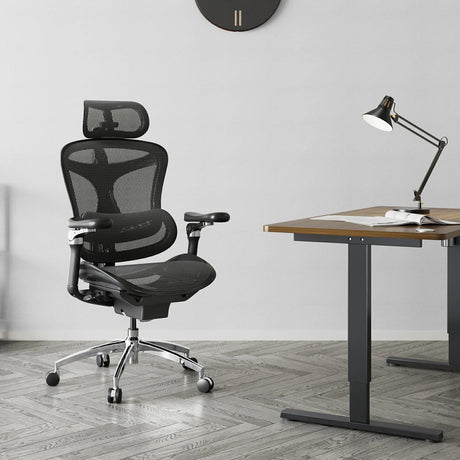
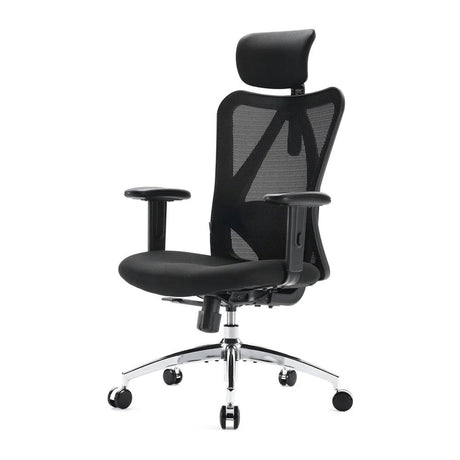
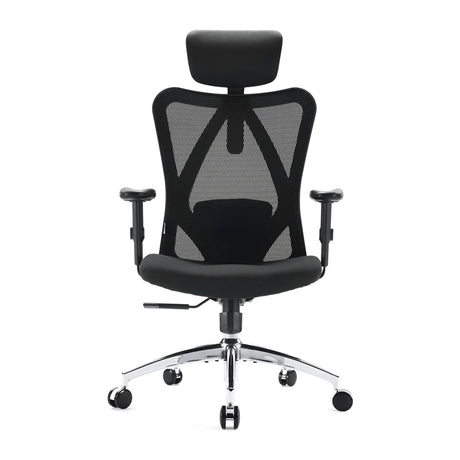
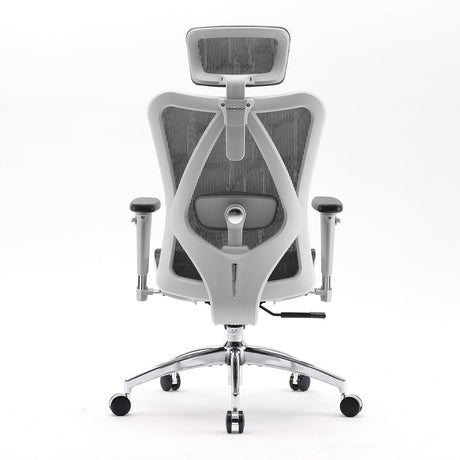
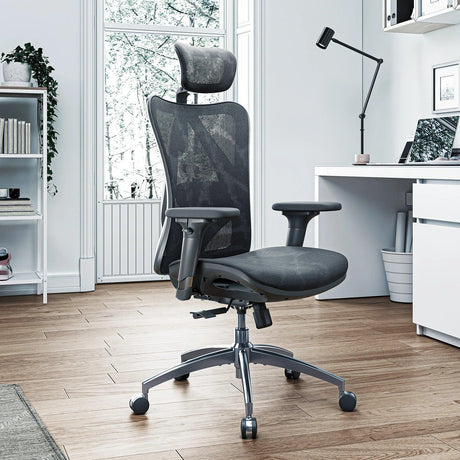
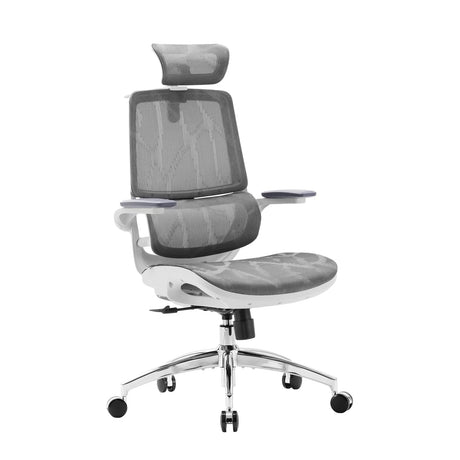
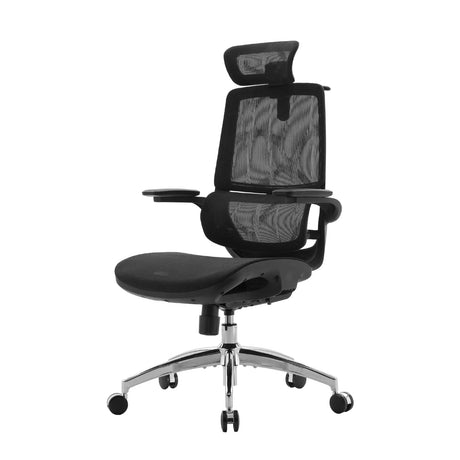
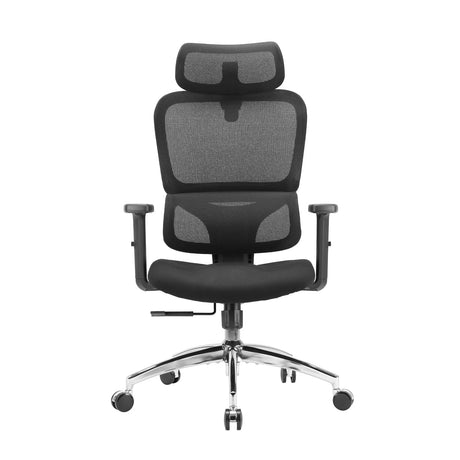
If you've ever found yourself in a situation where your office chair's gas cylinder needs replacement or repair, you're not alone. Gas cylinders in office chairs can wear out over time, leading to uncomfortable seating and reduced productivity. Fortunately, you don't need to be a professional to replace a gas cylinder in your office chair. In this comprehensive guide, we'll walk you through the process step by step, ensuring that you can tackle this task with confidence.
We'll cover everything you need to know, from the tools required to the actual removal process and even how to select a replacement cylinder that suits your needs. So, let's dive in and learn how to remove a gas cylinder from your office chair!
I. Tools and Materials Needed
Before you begin the process of removing a gas cylinder from your office chair, it's important to gather all the necessary tools and materials. Here's a list of what you'll need:
- Adjustable Wrench: To loosen and tighten bolts.
- Pipe Wrench: For added leverage when removing the gas cylinder.
- Rubber Mallet: To gently tap and dislodge parts.
- Screwdriver: For removing screws and other fasteners.
- Penetrating Oil: Helps to loosen stubborn connections.
- Safety Glasses: Protect your eyes from debris.
- Gloves: Ensure a secure grip and protect your hands.
- Replacement Gas Cylinder: Make sure it's compatible with your chair.
- Once you have these tools and materials ready, you can move on to the next steps.
II. Safety Precautions
Safety should always be a top priority when working with any type of equipment. Here are some essential safety precautions to keep in mind:
- Wear Safety Glasses and Gloves: Protect your eyes and hands from potential hazards like flying debris or sharp edges.
- Work in a Well-Ventilated Area: If you're using any penetrating oil or lubricants, ensure proper ventilation to avoid inhaling fumes.
- Secure the Chair: Before starting, make sure your office chair is on a stable surface, and the wheels are locked to prevent any accidental rolling.
- Disconnect the Chair: Unplug or disconnect any power sources, such as electrical connections or pneumatic controls, if your chair has them.
- Ask for Assistance: If you're unsure about any part of the process or if the chair is too heavy, it's a good idea to have someone help you.
With these safety precautions in place, you can proceed with confidence to remove the gas cylinder from your office chair.
III. Step-by-Step Guide to Remove a Gas Cylinder
Now, let's get into the nitty-gritty of removing a gas cylinder from your office chair. This process can vary slightly depending on the chair's make and model, but we'll provide a general guideline that should work for most office chairs.
A. Preparation
- Clear the Workspace: Start by clearing the area around your office chair. This will give you ample space to work and prevent any tripping hazards.
- Adjust the Chair's Height: Lower the chair's seat as far as it will go. This will make it easier to access the gas cylinder.
- Identify the Attachment Points: Examine the chair to identify where the gas cylinder connects to the base and the seat. Typically, it attaches at the base with a metal plate and to the seat through a bracket.
B. Seat Removal
- Detach the Seat: If your office chair has a removable seat, use a screwdriver to remove any screws or bolts securing it to the bracket connected to the gas cylinder. Set the seat aside.
- Examine the Bracket: Inspect the bracket for any additional screws or fasteners connecting it to the gas cylinder. Remove them if necessary.
C. Removing the Gas Cylinder
- Examine the Base: Locate the metal plate on the chair's base where the gas cylinder attaches. Depending on the chair, this plate may be held in place with screws or clips.
- Remove the Base Plate: Use your adjustable wrench or pipe wrench to loosen and remove any screws or clips securing the metal plate to the chair's base. Set these aside for reassembly later.
- Release the Gas Cylinder: With the base plate removed, you can now access the gas cylinder. If the gas cylinder is stuck, apply some penetrating oil to the area where it connects to the chair's base. Wait for a few minutes to allow the oil to penetrate and loosen any rust or debris.
- Unscrew or Twist the Gas Cylinder: Use the adjustable wrench or pipe wrench to twist and unscrew the gas cylinder from the base. This may require some force, so be patient and apply gradual pressure until it starts to turn.
- Remove the Gas Cylinder: Once it's loosened, carefully pull the gas cylinder out of the chair's base. Be cautious, as it may pop out suddenly.
D. Inspecting and Cleaning
- Inspect the Gas Cylinder: Examine the removed gas cylinder for any damage or signs of wear, such as rust or dents. If it's in poor condition, you should replace it.
- Clean the Components: Before installing the replacement cylinder, clean the chair's base and bracket thoroughly to remove any dirt or residue. This will ensure a secure fit for the new gas cylinder.
E. Replacing the Gas Cylinder
- Select the Right Replacement: Measure the length and diameter of your old gas cylinder to ensure you choose a replacement of the correct size. Check the compatibility with your chair's model.
- Install the New Gas Cylinder: Insert the replacement gas cylinder into the chair's base, twisting it in until it's securely in place.
- Tighten the Base Plate: Reattach the metal plate to the chair's base using the screws or clips you removed earlier. Make sure it's snug and secure.
F.Reassembling the Chair
Reattach the Seat: If you removed the seat, reattach it to the bracket on the gas cylinder using the appropriate screws or bolts.
- Test the Chair: Once everything is reassembled, give your chair a thorough test to ensure that the gas cylinder replacement was successful. Adjust the chair's height to your preferred position and sit in it to confirm that it's stable and functional. Pay attention to any unusual noises or wobbling, as these may indicate that something wasn't properly reassembled.
IV. How to Choose the Right Replacement Gas Cylinder
Selecting the right replacement gas cylinder is crucial to ensure your office chair functions correctly and provides the desired comfort and support. Here are some key considerations when choosing a replacement:
- Size and Compatibility: Measure the length and diameter of your old gas cylinder to find a replacement with the same specifications. Compatibility is vital to ensure a proper fit.
- Weight Rating: Check the weight rating of the replacement cylinder. It should be suitable for your body weight and the chair's design. Overloading a gas cylinder can lead to premature wear and instability.
- Quality and Durability: Invest in a high-quality gas cylinder made from durable materials. A well-constructed cylinder is less likely to fail or develop issues over time.
- Adjustability: Some gas cylinders come with additional features like adjustable height or tilt control. Consider your ergonomic needs and whether these features are important to you.
- Brand and Model: If possible, try to find a replacement cylinder from the same manufacturer or a reputable brand that produces compatible parts for your chair model.
- Warranty: Look for replacement cylinders that come with a warranty. This provides peace of mind in case any issues arise after installation.
- Reviews and Recommendations: Read product reviews and seek recommendations from others who have replaced gas cylinders in similar chairs. Their experiences can help you make an informed decision.
V. Common Problems and Troubleshooting
During the gas cylinder removal and replacement process, you may encounter common issues. Here are some troubleshooting tips:
- Stuck Gas Cylinder: If the gas cylinder is difficult to twist or remove, apply penetrating oil to the connection point and wait a few minutes. Use a pipe wrench for added leverage, but be careful not to damage the cylinder.
- Rust or Corrosion: If you notice rust on the gas cylinder, it's a sign of moisture exposure. Consider using a rust remover or sandpaper to clean the affected area before reinstallation.
- Leaking Hydraulic Fluid: If you see hydraulic fluid leaking from the gas cylinder, it's best to replace it immediately. Leaking fluid can make your chair unstable and unsafe.
- Incompatibility: If you mistakenly purchase an incompatible gas cylinder, return it and select the correct one. Avoid forcing a cylinder into place, as it can damage both the chair and the cylinder.
- Wobbling or Unstable Chair: If your chair feels wobbly after reassembly, double-check that all components are securely tightened. Ensure that the gas cylinder is properly aligned and seated in the chair's base.
VI. Conclusion
Congratulations! You've successfully learned how to remove a gas cylinder from your office chair and replace it with a new one. This DIY project can save you money on chair repairs and ensure that your office chair continues to provide comfort and support.
Remember to prioritize safety during the process, use the right tools, and choose a replacement gas cylinder that matches your chair's specifications. Regular maintenance and prompt replacement of worn-out gas cylinders will extend the lifespan of your office chair, keeping you comfortable and productive at work.
With the step-by-step guide and tips provided in this article, you can confidently tackle this task and enjoy your refreshed office chair. Happy sitting!

