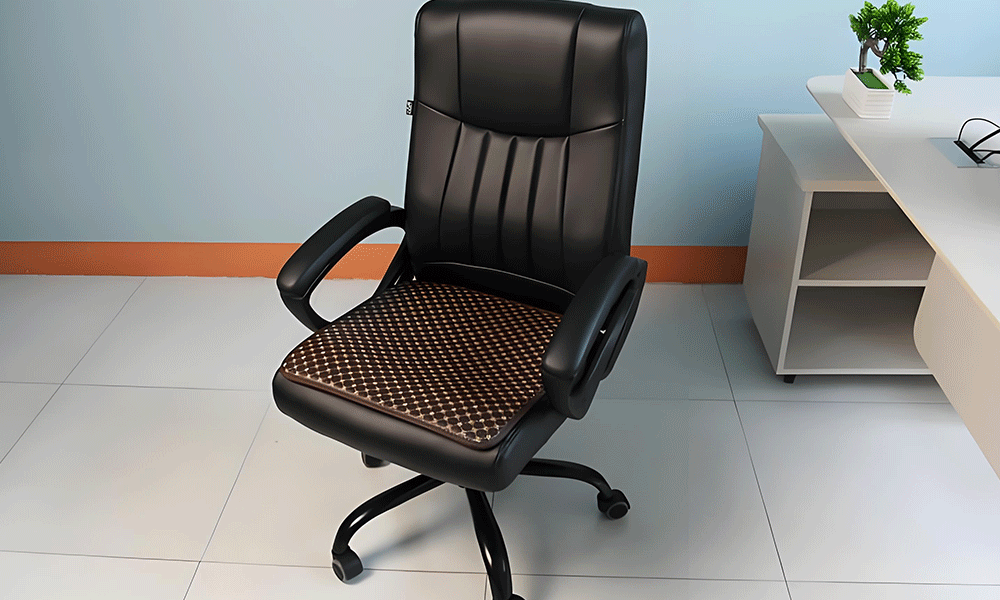
Leather chairs are an investment in both style and comfort, but sometimes, the color may no longer match your decor or may show signs of wear. Rather than replacing your leather chair entirely, why not give it a fresh new look by changing its color? With a little patience, the right tools, and a bit of creativity, you can transform your old leather chair into something that looks brand new.
Here’s a comprehensive guide on how to change the color of a leather chair:
1. Gather Your Materials
Before you get started, it’s important to have all the necessary materials on hand. You’ll need:
- Leather dye: Make sure the dye is specifically designed for leather. Leather dye comes in a variety of colors and finishes, so choose one that suits your desired look.
- Leather prep cleaner: This will help remove any dirt, oil, or wax from the leather surface, ensuring the dye adheres properly.
- Sponge or brush: A soft sponge works well for applying dye to larger areas, while a brush is useful for details and hard-to-reach spots.
- Rags or towels: For wiping excess dye and cleaning.
- Painter’s tape: Use this to protect areas that you don’t want to dye, like seams or decorative elements.
- Leather conditioner: After dyeing, you’ll need this to restore moisture and flexibility to the leather.
2. Clean the Leather Chair
Start by cleaning the leather thoroughly. Use a leather prep cleaner to remove any dirt, grime, or oils from the surface. This step is crucial because any leftover oils or residues can prevent the dye from adhering properly to the leather. Allow the leather to dry completely after cleaning.
3. Protect the Surrounding Areas
Use painter’s tape to cover any areas of the chair that you don’t want to dye. This includes the seams, stitching, legs, and armrests (if they’re not being dyed). If the chair has any decorative elements, make sure to tape them off as well.
4. Apply the Leather Dye
Now it’s time to apply the dye. Shake the bottle of dye thoroughly to ensure an even application. Using a sponge or brush, apply the dye in thin layers, working in small sections at a time. Start from one area and gently work your way across the chair.
- For a smoother finish: Use a sponge, as it helps the dye go on evenly without leaving streaks.
- For detailed areas: A brush is great for getting into tight spots like seams or corners.
Make sure to work the dye into the leather in a circular motion. This will help ensure the dye absorbs evenly. Allow each layer to dry before applying a second coat, and repeat this process until you achieve the desired color saturation. Some dyes may require up to 3 or 4 coats to fully cover the existing color.
5. Buff and Wipe Off Excess Dye
Once you’ve applied all the coats of dye and the leather is dry to the touch, use a clean rag or towel to buff the surface. This helps smooth out any uneven spots and creates a soft, uniform finish. Be gentle during this process to avoid disturbing the dye.
If you notice any excess dye that hasn’t absorbed into the leather, use a clean rag to wipe it off. It’s important to ensure there’s no excess residue left behind, as this could lead to an uneven color or tacky texture.
6. Allow the Dye to Set
After buffing, let the leather sit for a few hours to ensure the dye fully sets. Depending on the brand and type of dye, it might take anywhere from 4 to 24 hours for the leather to completely dry and cure. The drying time will vary, so it’s important to follow the instructions on your specific dye.
7. Condition the Leather
Once the dye has fully dried, it’s time to condition the leather. Leather can dry out during the dyeing process, so applying a leather conditioner will help restore moisture, flexibility, and sheen. Use a soft cloth to apply the conditioner in a thin, even layer, then allow it to soak in for about 15-20 minutes. Buff off any excess conditioner to leave a smooth, soft finish.
8. Enjoy Your Newly Colored Leather Chair
Now that you’ve changed the color of your leather chair, enjoy the refreshed look! It’s important to keep in mind that leather is a natural material, so it will require ongoing care to maintain its appearance and durability. Regularly clean and condition the leather to keep it looking its best.
Tips for Success:
- Test the dye on a small area first: Before you commit to dyeing the entire chair, test the color on a hidden spot of the leather to make sure you’re happy with the result.
- Choose the right dye: Leather dye comes in different types, including alcohol-based and water-based options. Alcohol-based dyes tend to provide a more vivid and long-lasting color but can be drying, so be sure to condition afterward.
- Be patient: Allow each coat of dye to dry completely before applying the next. Rushing this step can lead to uneven coloring.
Conclusion
Changing the color of a leather chair is a simple yet effective way to breathe new life into a piece of furniture that may have lost its appeal. With the right tools and techniques, you can customize the chair to fit your style, restore it to its former glory, or completely transform it into something unique. Whether you’re refreshing an old favorite or updating your decor, this DIY project is a great way to get creative and save money on replacing your leather furniture. Happy dyeing!


