Leather chairs are a timeless investment in comfort and style. But with regular use, the inevitable happens: wear and tear. If you’ve found a rip in the leather of your beloved chair, don’t fret! Whether it's a small tear or a larger gash, fixing it is possible—and it can save you the cost of a replacement.
In this post, we’ll guide you through the process of repairing a ripped leather chair so you can restore it to its former glory.
Step 1: Assess the Damage
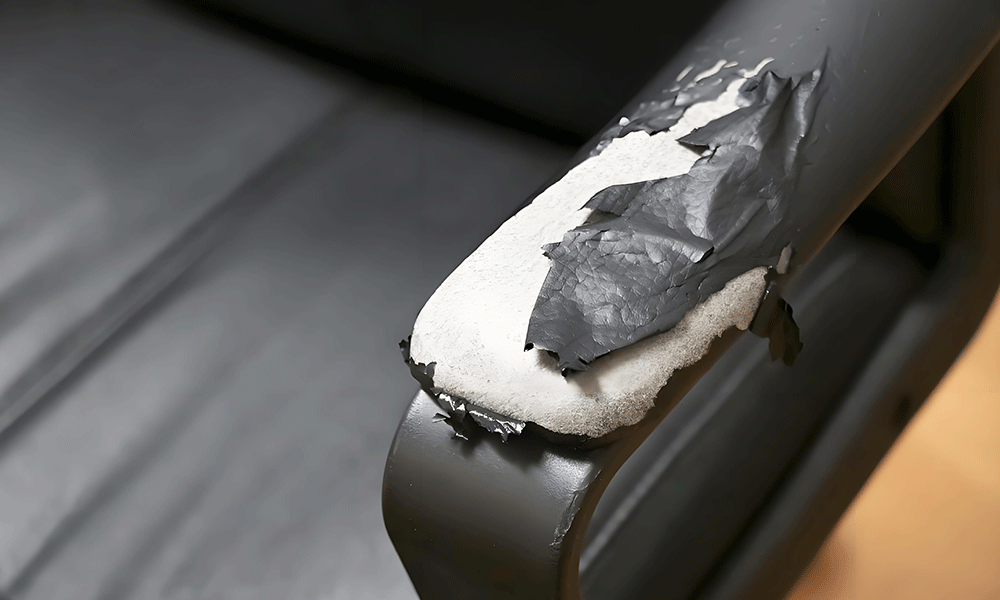
Before you start fixing the rip, take a good look at the extent of the damage. Rips in leather can range from minor surface tears to deep cuts, so it’s important to determine how bad it is before proceeding.
- Small Tears or Scuffs: If the rip is less than an inch in length, it can be patched up relatively easily.
- Larger Rips or Gouges: Larger tears may require more extensive repairs, and in some cases, you might need to use a leather patch.
Step 2: Gather Your Tools
You’ll need the right tools to repair a leather chair. Here’s what you should have on hand:
- Leather repair kit: Most kits come with leather adhesive, filler, and color-matching compounds.
- Leather patch (if necessary): If the tear is large, a leather patch will help reinforce the area.
- Utility knife or scissors: For trimming any frayed or torn edges.
- Sponge or cloth: To clean the area before applying repairs.
- Sandpaper (optional): For smoothing the surface of the leather before application.
Step 3: Clean the Leather
Before you start repairing the leather, it’s important to clean the area thoroughly. Any dirt, oils, or debris will affect how well the adhesive bonds to the leather.
- Dampen a cloth or sponge with water and mild soap.
- Gently wipe down the damaged area to remove any dirt or oils.
- Allow the area to dry completely before proceeding to the next step.
Step 4: Trim the Ragged Edges (If Necessary)
If the leather is frayed or torn, it’s important to trim any loose pieces for a cleaner repair. Use a utility knife or sharp scissors to carefully cut away any ragged edges around the tear. Be gentle to avoid causing further damage.
Step 5: Apply Leather Filler
For smaller tears or scratches, a leather repair filler can help fill in gaps and smooth out the surface. Follow these steps:
- Squeeze a small amount of leather filler onto a spatula or knife.
- Gently apply the filler over the torn area, pressing it into the leather to fill in the gap.
- Smooth the surface to match the texture of the surrounding leather.
- Allow the filler to dry according to the manufacturer’s instructions (usually around 1–2 hours).
Step 6: Apply Leather Adhesive (For Larger Rips)
If the tear is larger, you’ll need to use leather adhesive. Here’s how to do it:
- Apply a thin layer of leather adhesive around the edges of the tear.
- Gently press the two sides of the tear together.
- Hold them together with your hands or use clamps to secure the edges while the adhesive dries (usually around 10-15 minutes).
Be careful not to use too much adhesive, as it can seep out and leave a mess.
Step 7: Use a Leather Patch (If Necessary)
If the damage is extensive, you might need to use a leather patch. Here’s how to apply it:
- Cut a leather patch to fit the tear, ensuring it’s slightly larger than the damaged area.
- Apply a thin layer of leather adhesive to the back of the patch.
- Carefully place the patch over the tear, ensuring it lines up properly.
- Press down firmly and hold in place for a few minutes to ensure good adhesion.
- Allow the adhesive to dry completely before proceeding.
Step 8: Blend the Repair
After the adhesive or filler has dried, you may notice a color mismatch between the repair and the original leather. To blend the repair into the surrounding area:
- Use a leather dye or colorant to match the color of your chair.
- Apply the dye in thin layers, allowing it to dry between coats, until the repaired area blends seamlessly with the rest of the chair.
- For a glossy finish, apply a leather sealant or conditioner to the entire chair after the repair.
Step 9: Condition the Leather
Once the repair is complete, it’s important to condition the leather to restore moisture and flexibility. Leather can dry out over time, especially after repair, so regular conditioning is key to maintaining its durability.
- Apply a leather conditioner to the entire chair using a soft cloth.
- Rub the conditioner in circular motions, making sure to cover the repaired area as well.
- Let the conditioner soak in and buff the surface with a clean cloth for a smooth finish.
Step 10: Test the Repair
Once the leather repair has fully dried and you’ve conditioned the chair, gently test the repaired area by pressing on it or sitting on it. If the repair feels secure and the leather is smooth, you’ve done a great job!
However, if the area feels weak or the repair hasn’t held, you may need to repeat the process or consider seeking professional help.
Final Thoughts
Repairing a ripped leather chair can seem intimidating at first, but with the right tools and a little patience, you can restore it to its former beauty. Whether it's a minor tear or a more significant gash, fixing the leather is a practical and affordable solution that extends the life of your furniture.
Take your time, follow the steps carefully, and soon your leather chair will look as good as new—ready for years of use and comfort!